HyperBDR部署与配置
HyperBDR部署与配置
(内网VPN访问)测试HyperBDR到通用存储回切网关的网络连通性
提示
如果你的回切测试环境是通过容灾目标云VPN与生产站点内网互联,可以通过此操作步骤来测试HyperBDR到通用存储回切网关的网络连通性。
验证测试步骤
登录到HyperBDR主机
测试访问通用存储回切网关10729端口
测试命令:
ssh -p 10729 root@<Failback Gateway Host Intranet IP>验证结果:
可以正常访问到输入密码,则表示正常访问。
测试HyperBDR到vCenter/ESXi的管理网络连通性
提示
如果你的回切测试环境是通过容灾目标云的VPN与生产站点内网互联,可以通过此操作步骤来测试HyperBDR到vCenter/ESXi的管理网络连通性的网络连通性。
登录到HyperBDR主机
测试访问vCenter地址的端口
提示
命令中将Vcenter的IP地址替换为实际生产环境中的IP地址
测试命令:
ssh -v -p 443 <vCenter IP Address>测试结果: 如果输入结果包括信息“[debug1: Connection established.]”,则表明网络连接没有问题。
OpenSSH_7.4p1, OpenSSL 1.0.2k-fips  26 Jan 2017
debug1: Reading configuration data /etc/ssh/ssh_config
debug1: /etc/ssh/ssh_config line 58: Applying options for *
debug1: Connecting to 192.168.10.2 [vCenter IP Address] port 443.
debug1: Connection established.
测试访问ESXi地址的端口
提示
命令中将ESXi的IP地址替换为实际生产环境中的IP地址
测试命令:
ssh -v -p 443 <ESXi IP Address>测试结果: 如果输入结果包括信息“[debug1: Connection established.]”,则表明网络连接没有问题。
OpenSSH_7.4p1, OpenSSL 1.0.2k-fips  26 Jan 2017
debug1: Reading configuration data /etc/ssh/ssh_config
debug1: /etc/ssh/ssh_config line 58: Applying options for *
debug1: Connecting to 192.168.10.2 [ESXi IP Address] port 443.
debug1: Connection established.
添加通用存储回切网关到HyperBDR
提示
默认已完成HyperBDR环境的部署。
登录HyperBDR

添加通用存储回切网关
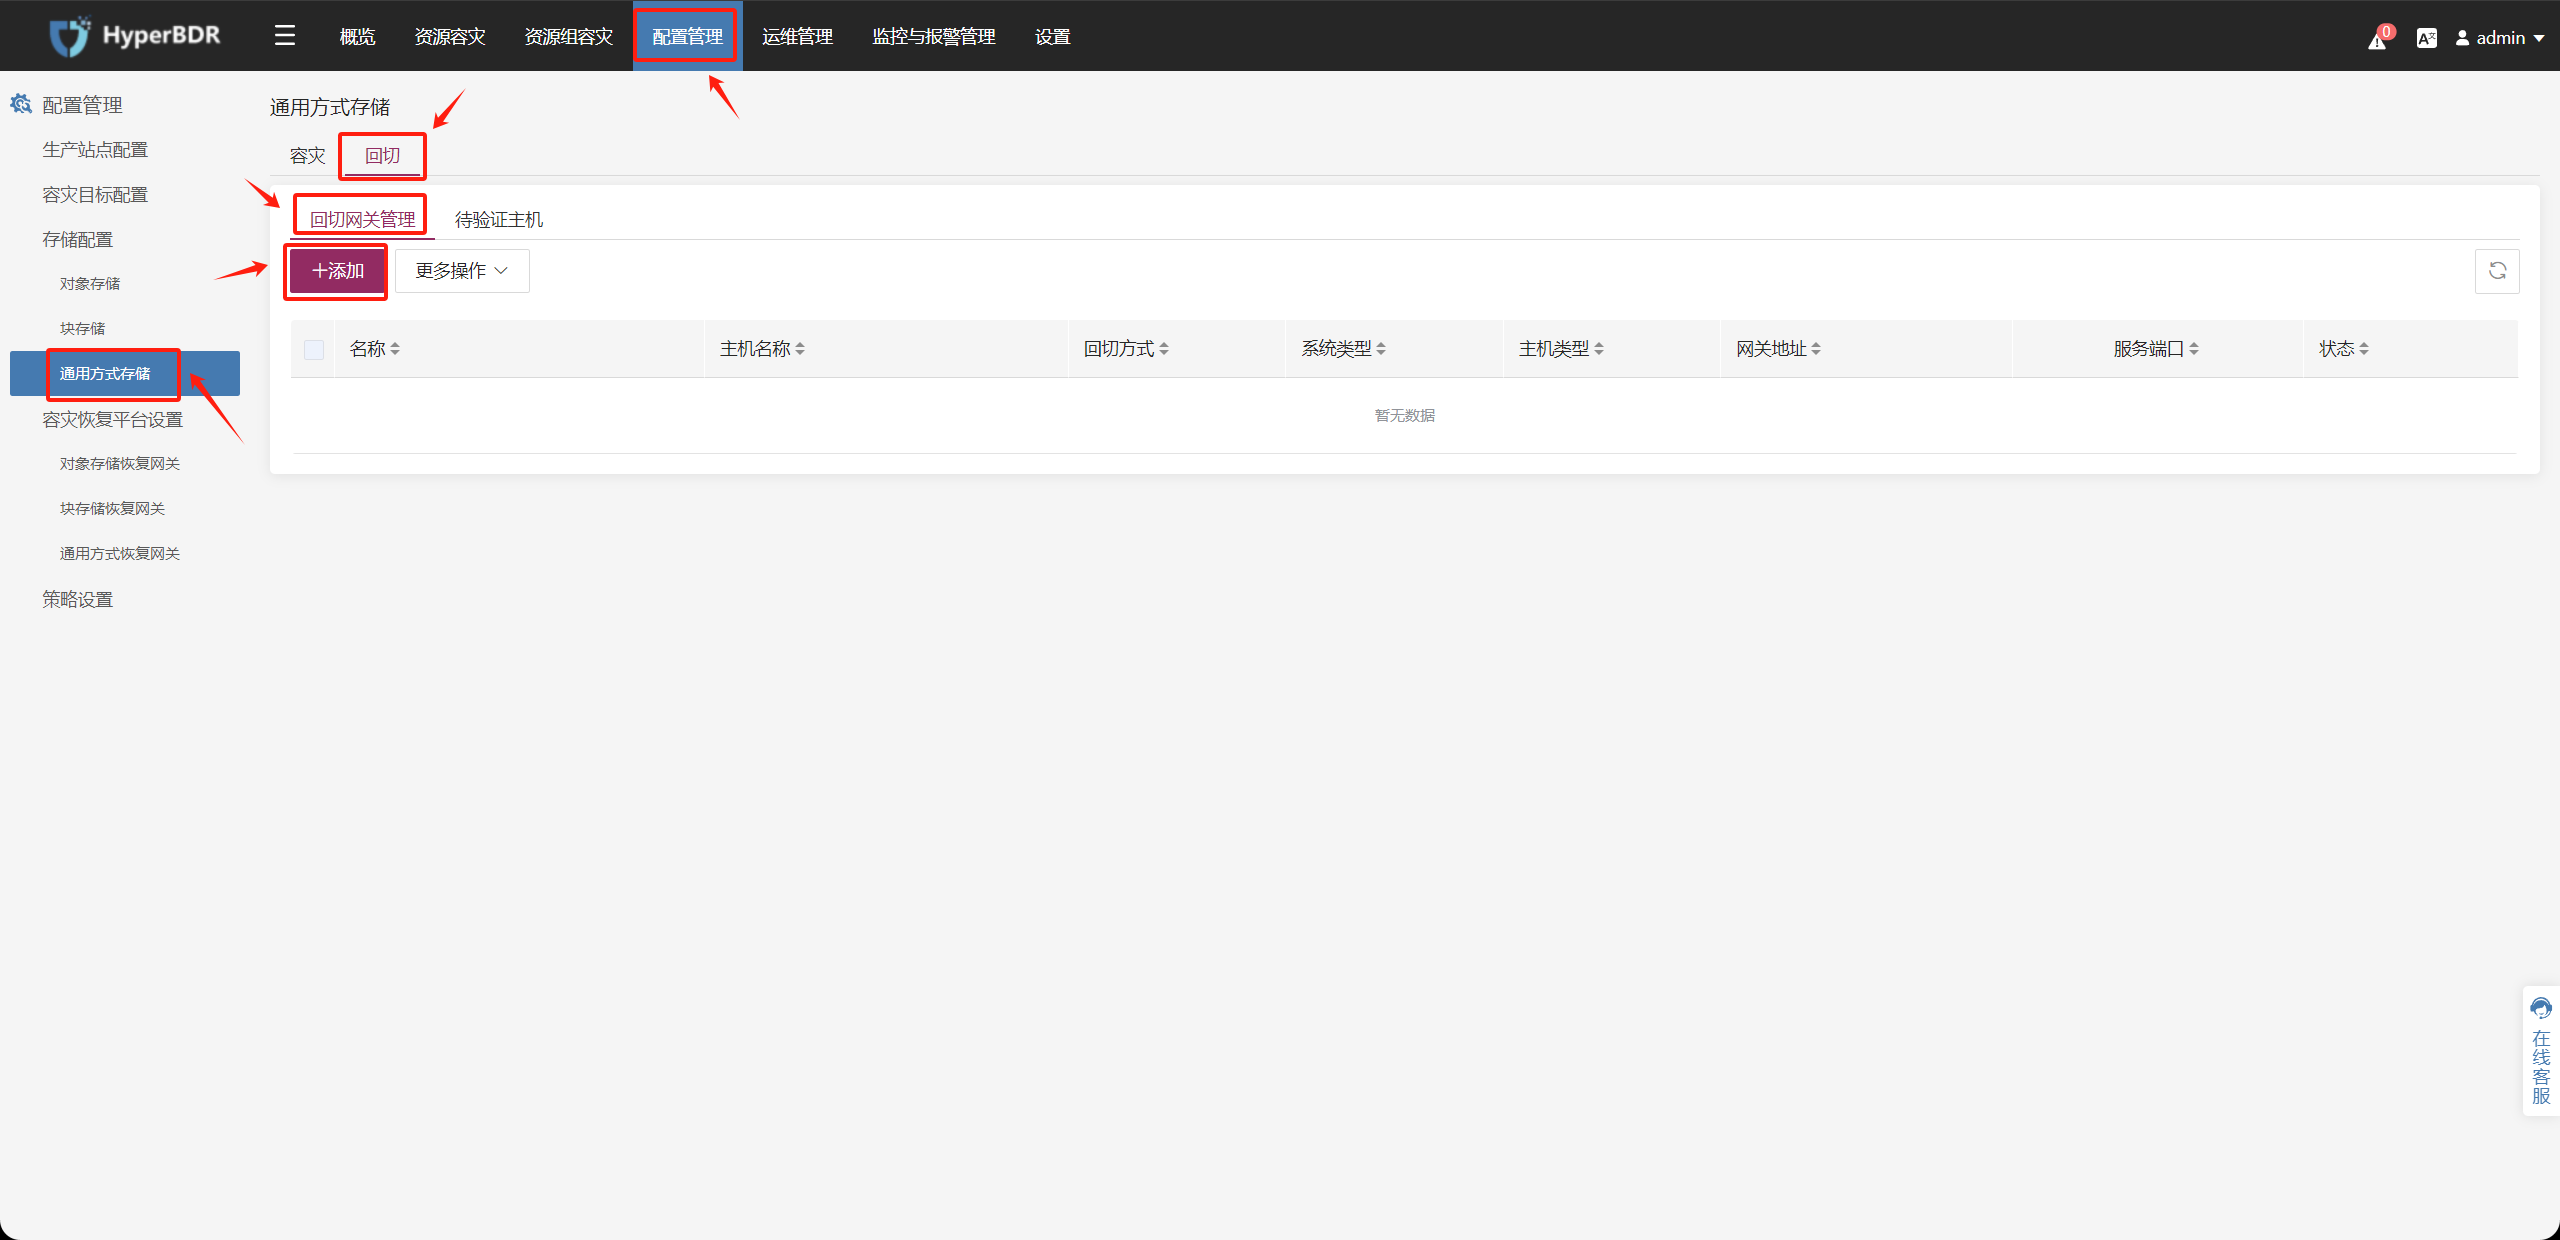
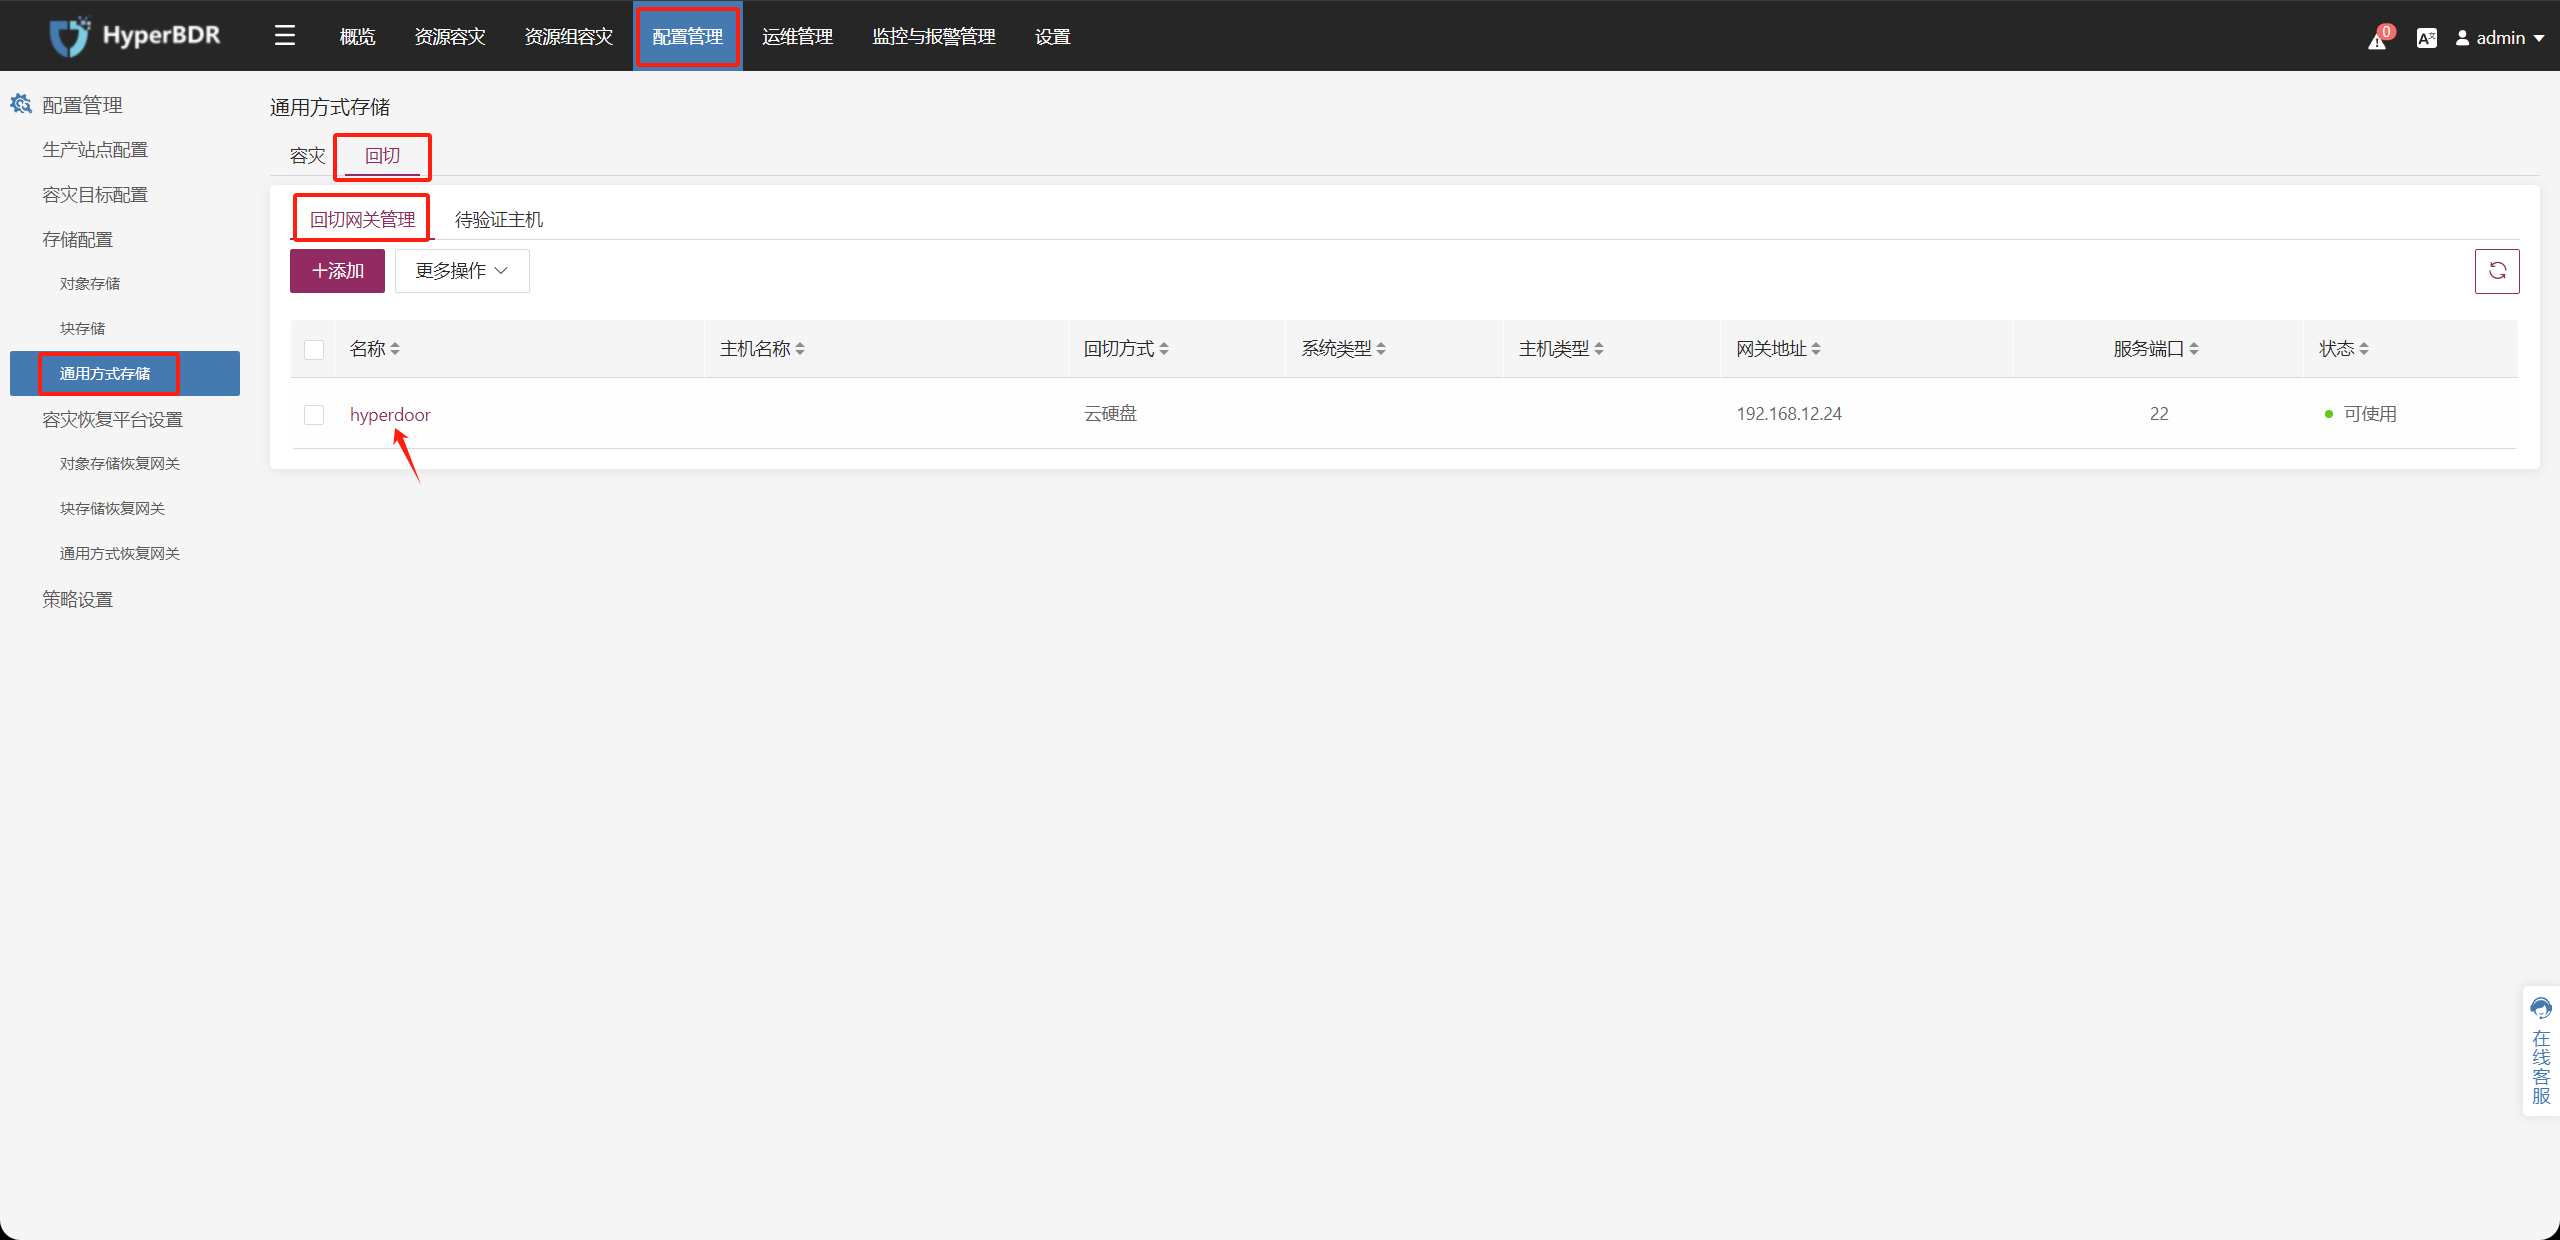
Step 1. 上方导航栏中选择 "配置管理",左侧菜单栏选择"通用方式存储",在"回切" - "回切网关管理"标签页中点击"添加"。
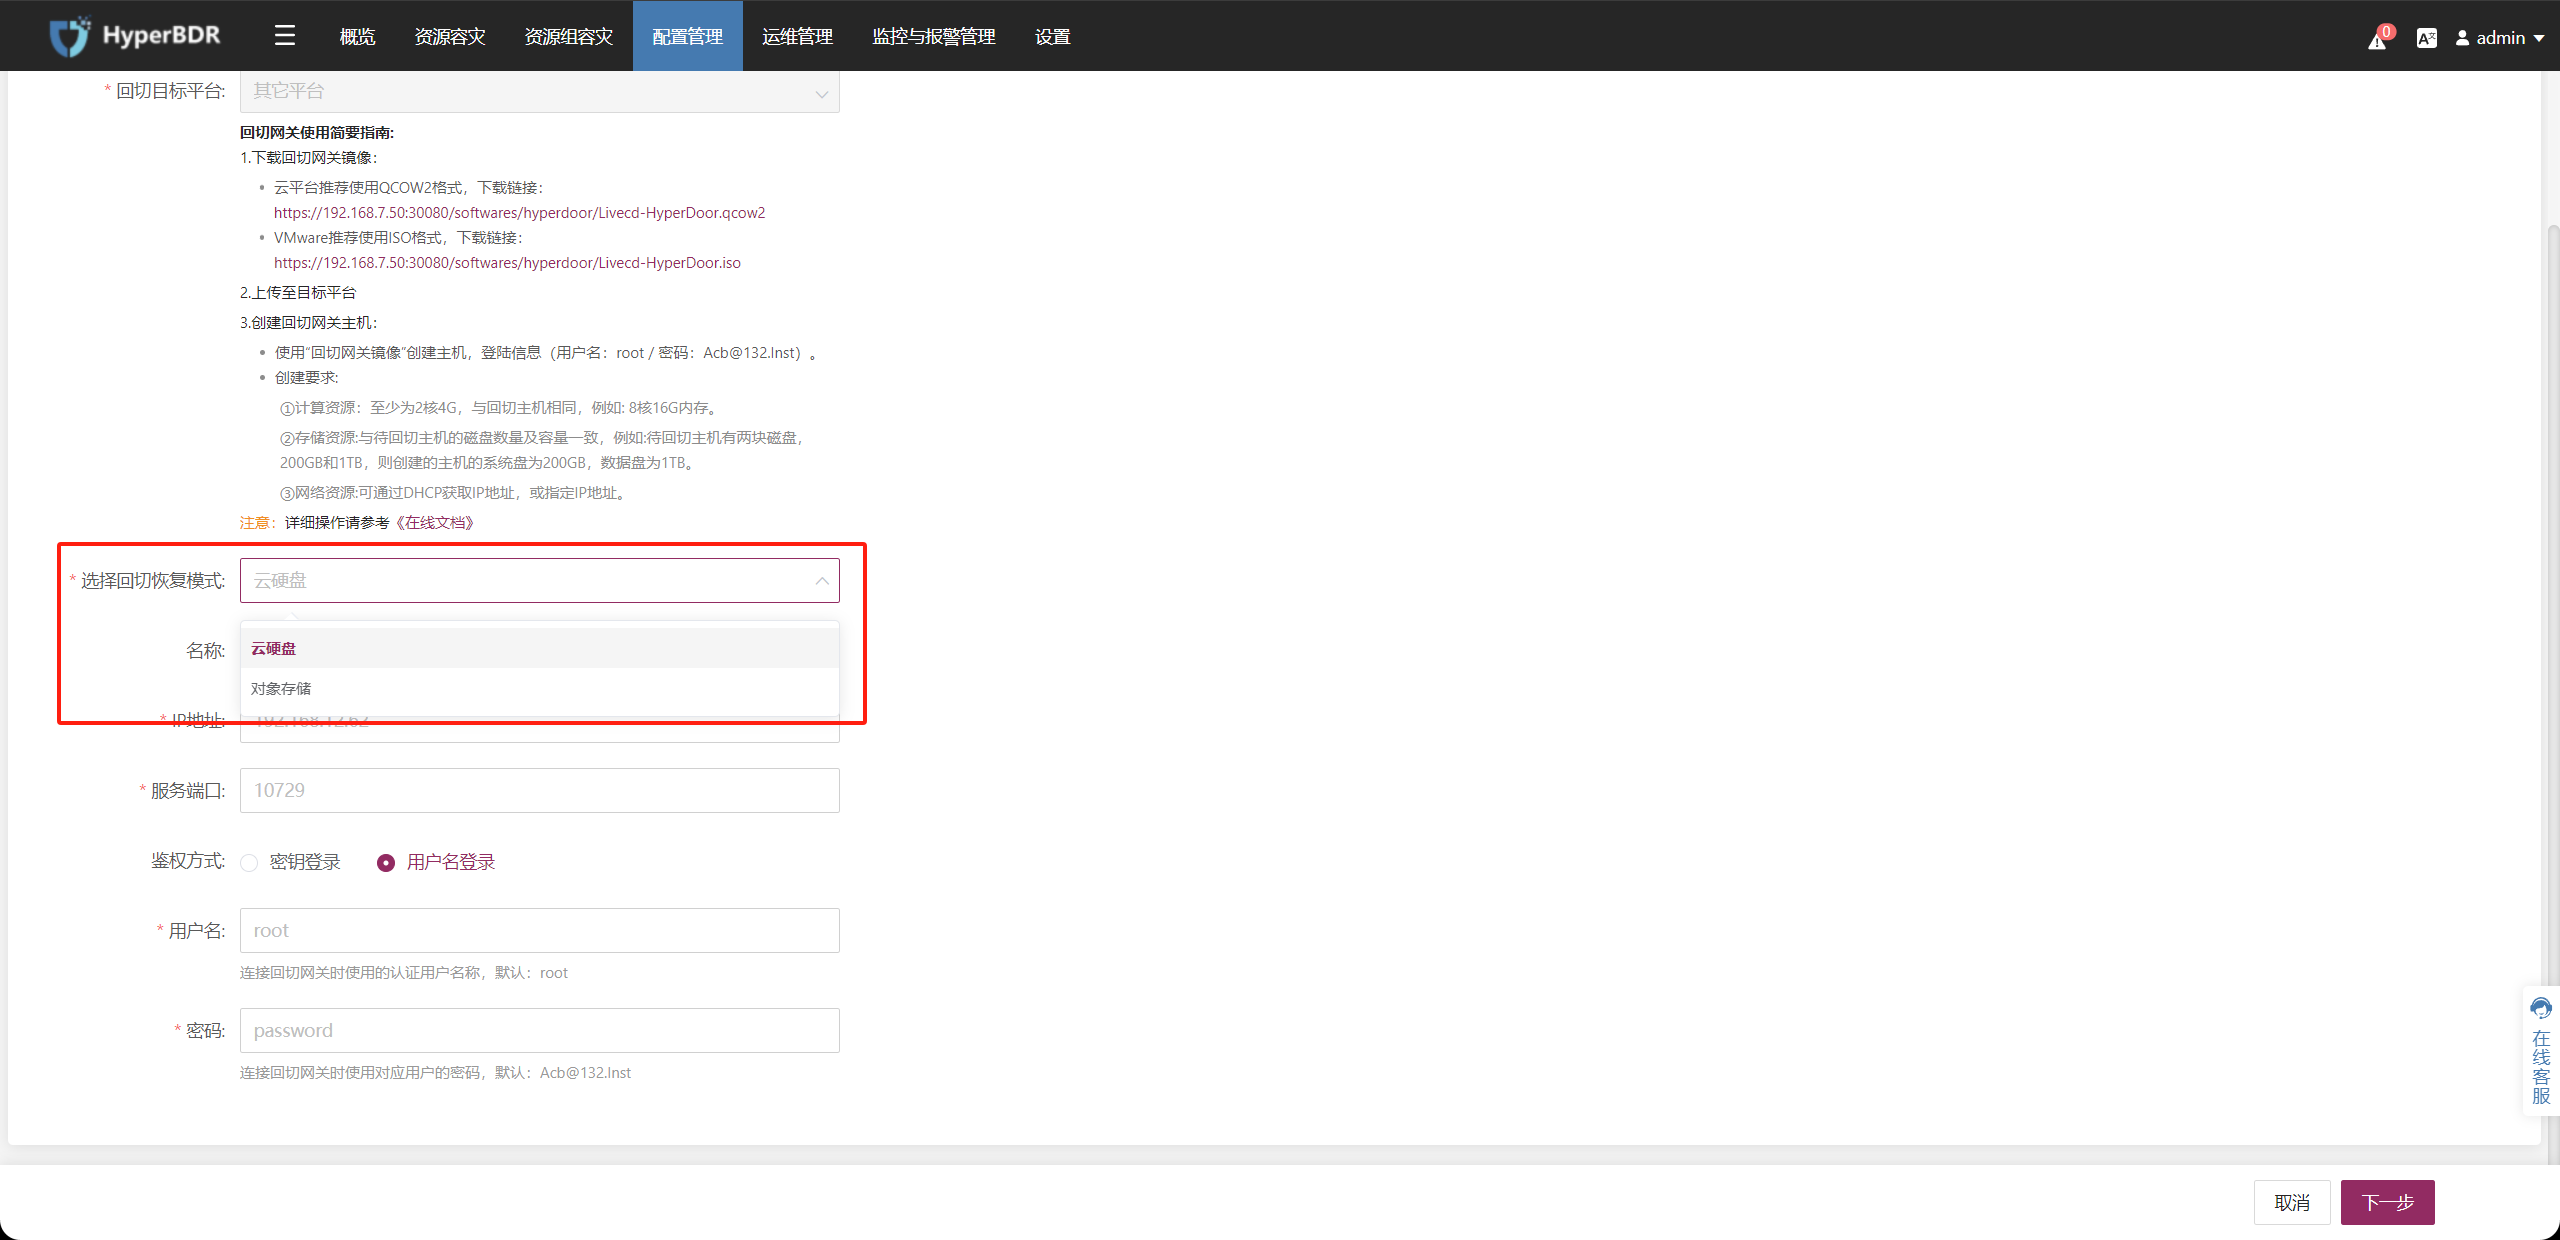
Step 2. 按照表单中的说明创建"通用存储回切网关"。填写通用存储回切网关的信息,确认后单击"下一步"。
提示
根据您的存储类型来配置"回切恢复模式",您可以选择"对象存储"或者"云硬盘"。
Step 3. "驱动修复"选项默认即可。
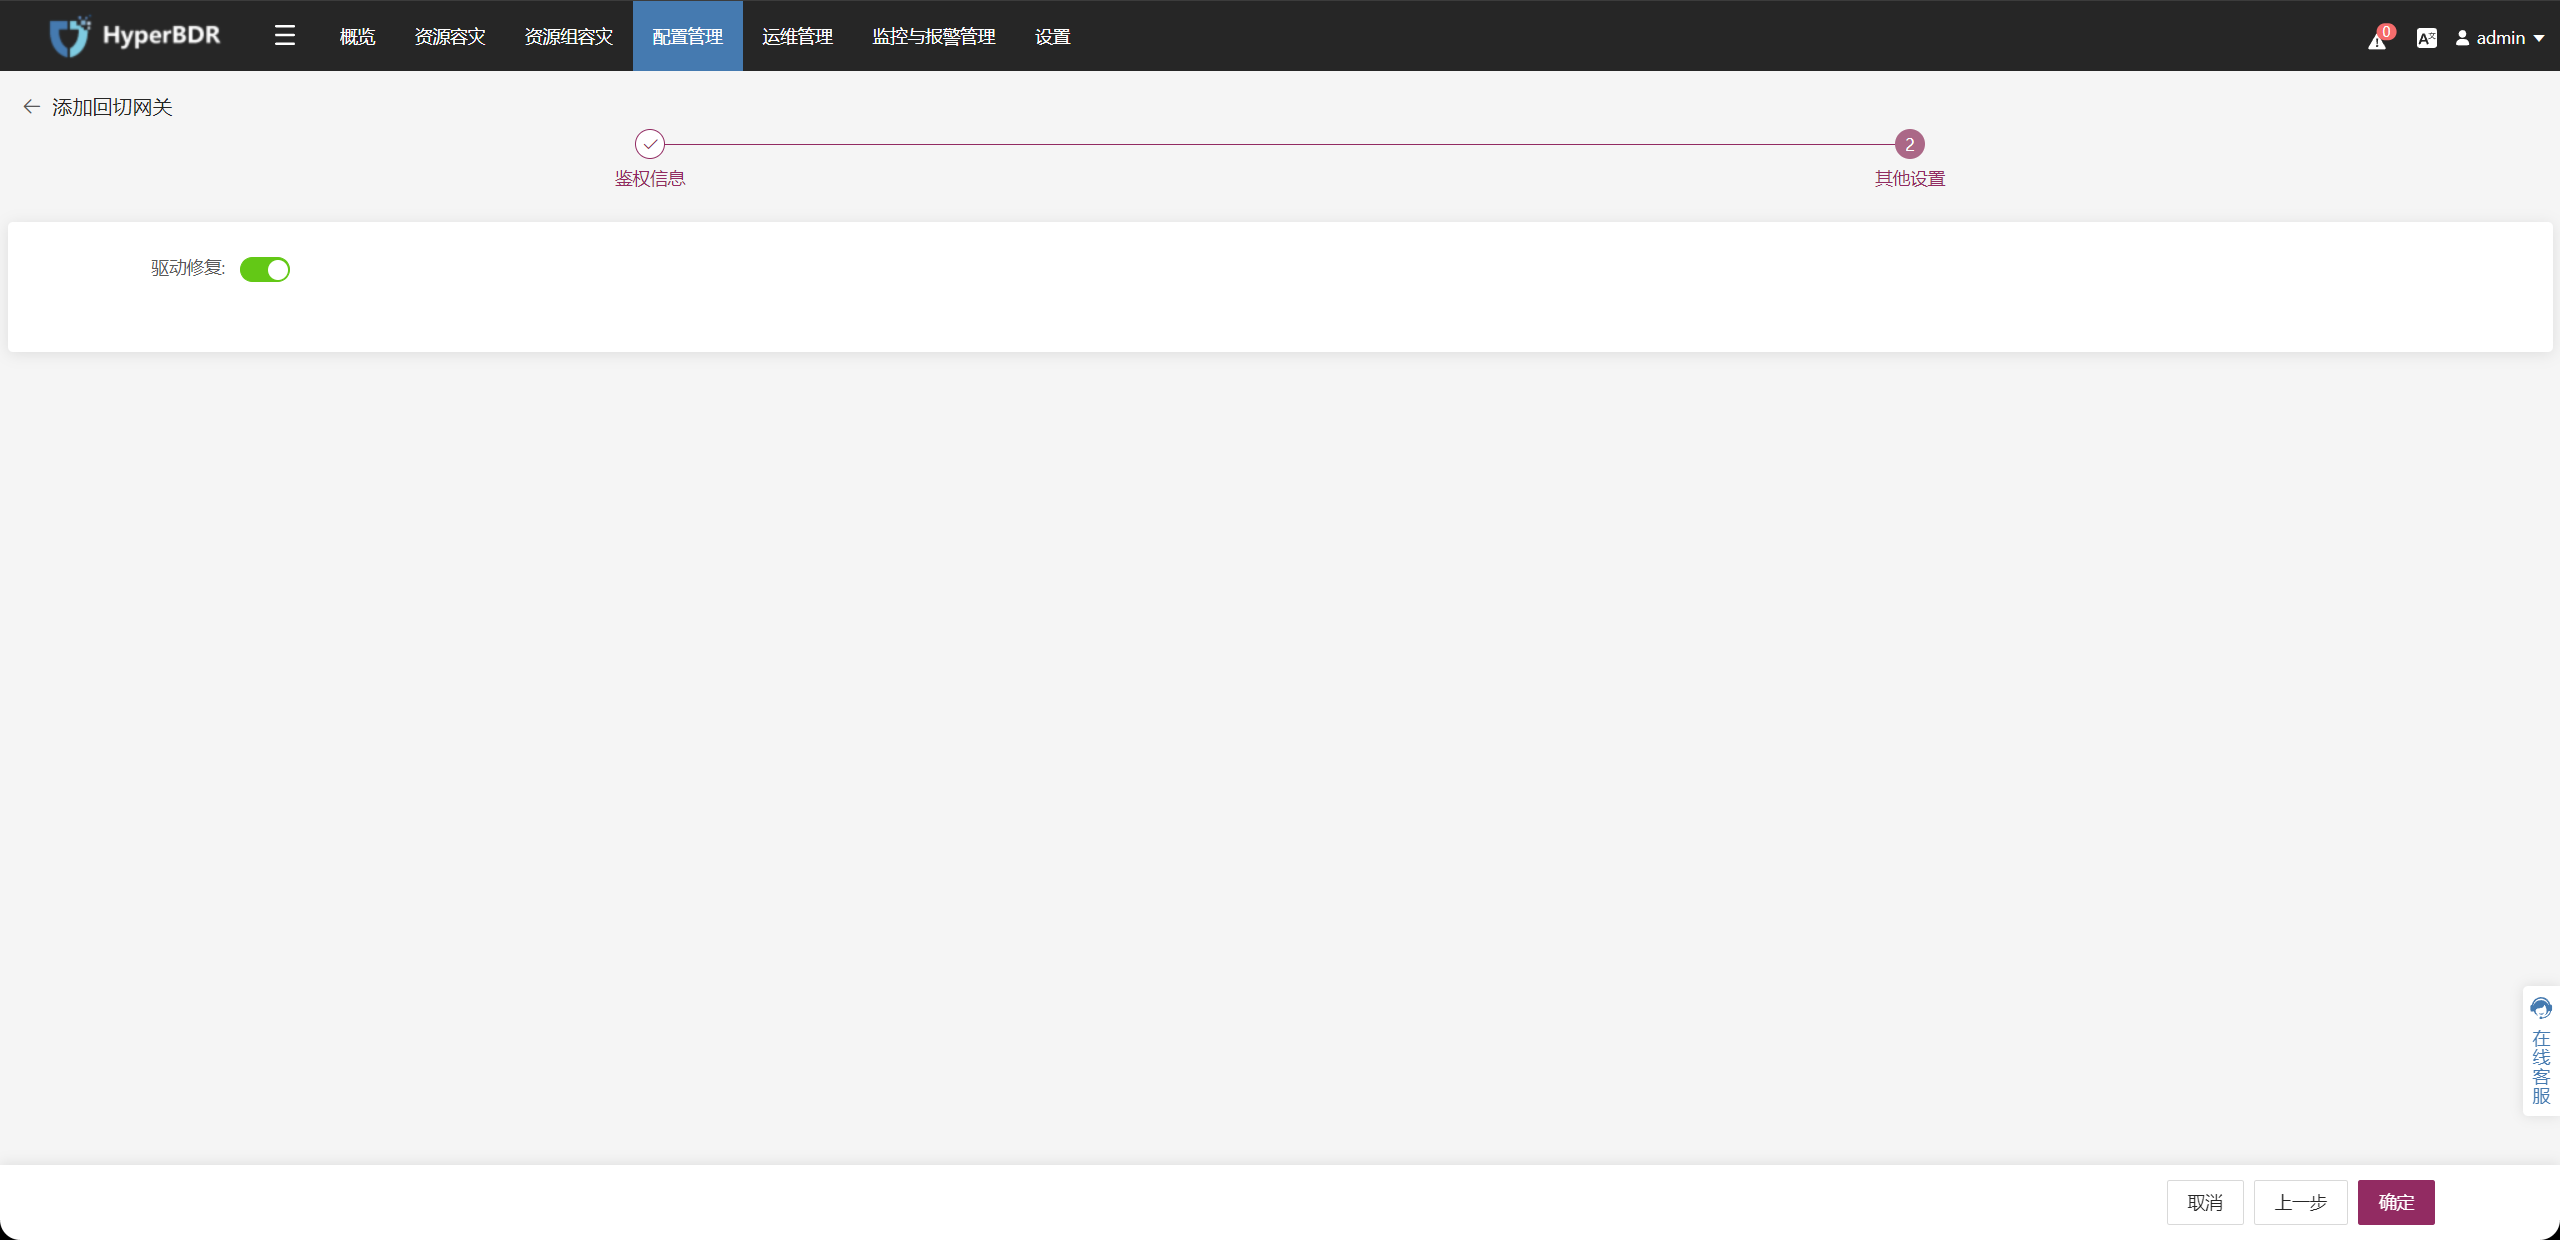
Step 4. 通用存储回切网关状态为可用即可。
验证通用存储回切网关状态
提示
默认已完成HyperBDR环境的部署。
登录HyperBDR控制台
检查通用存储回切网关的状态
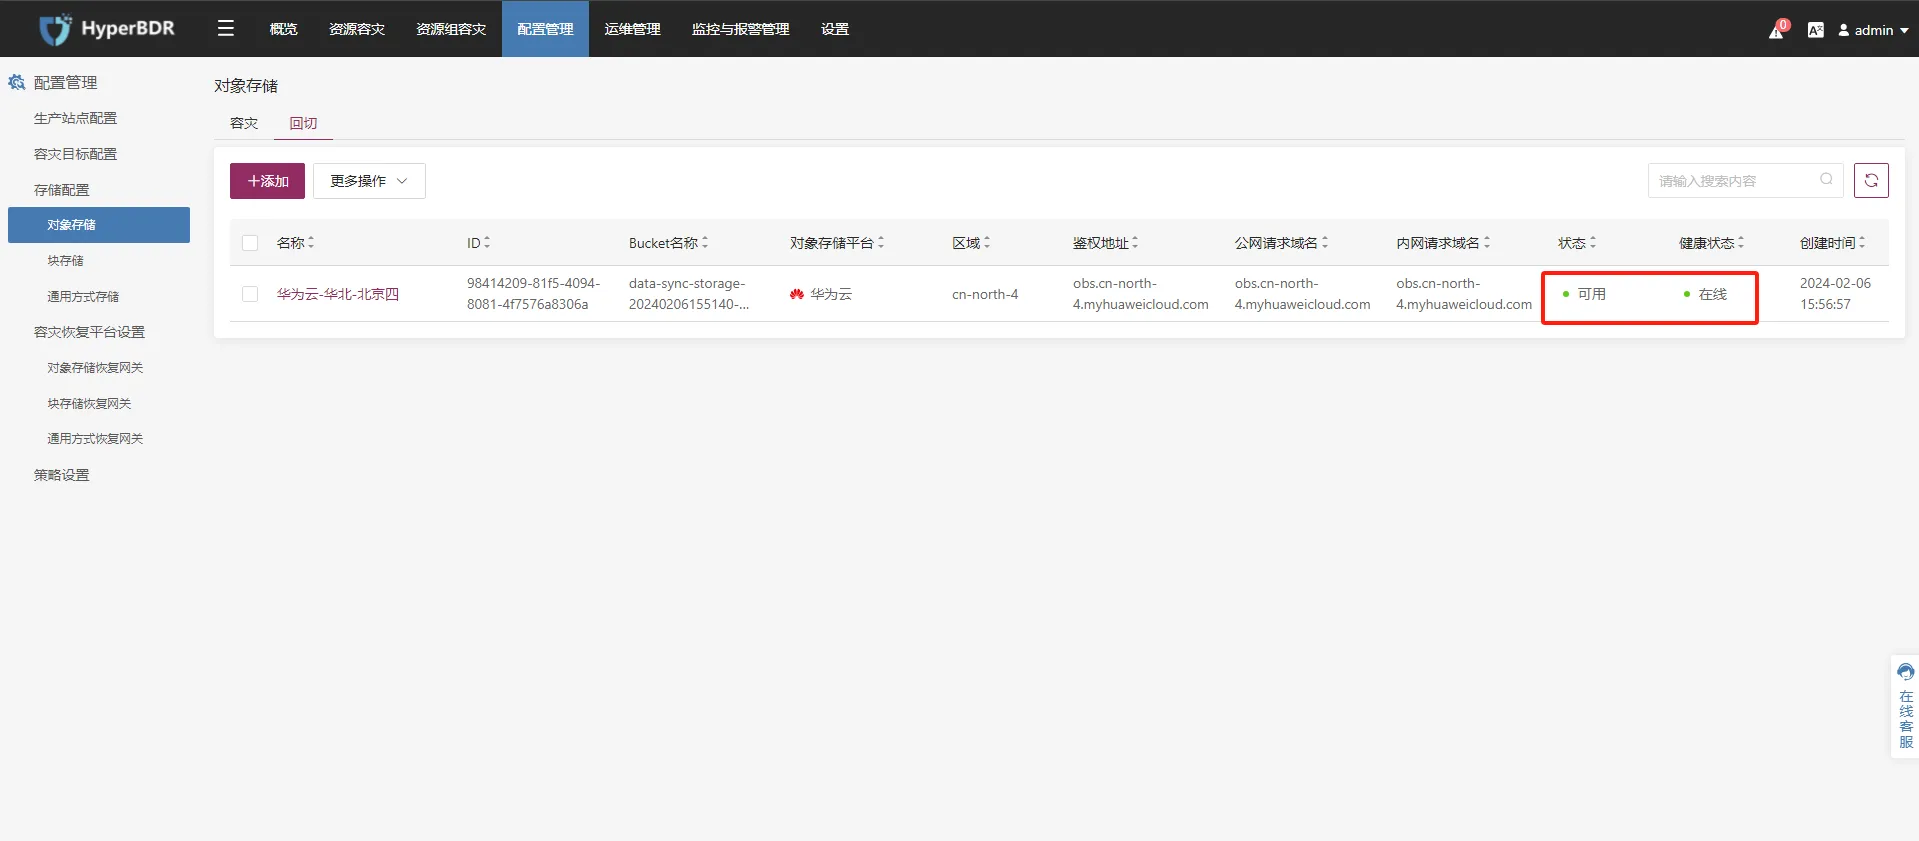
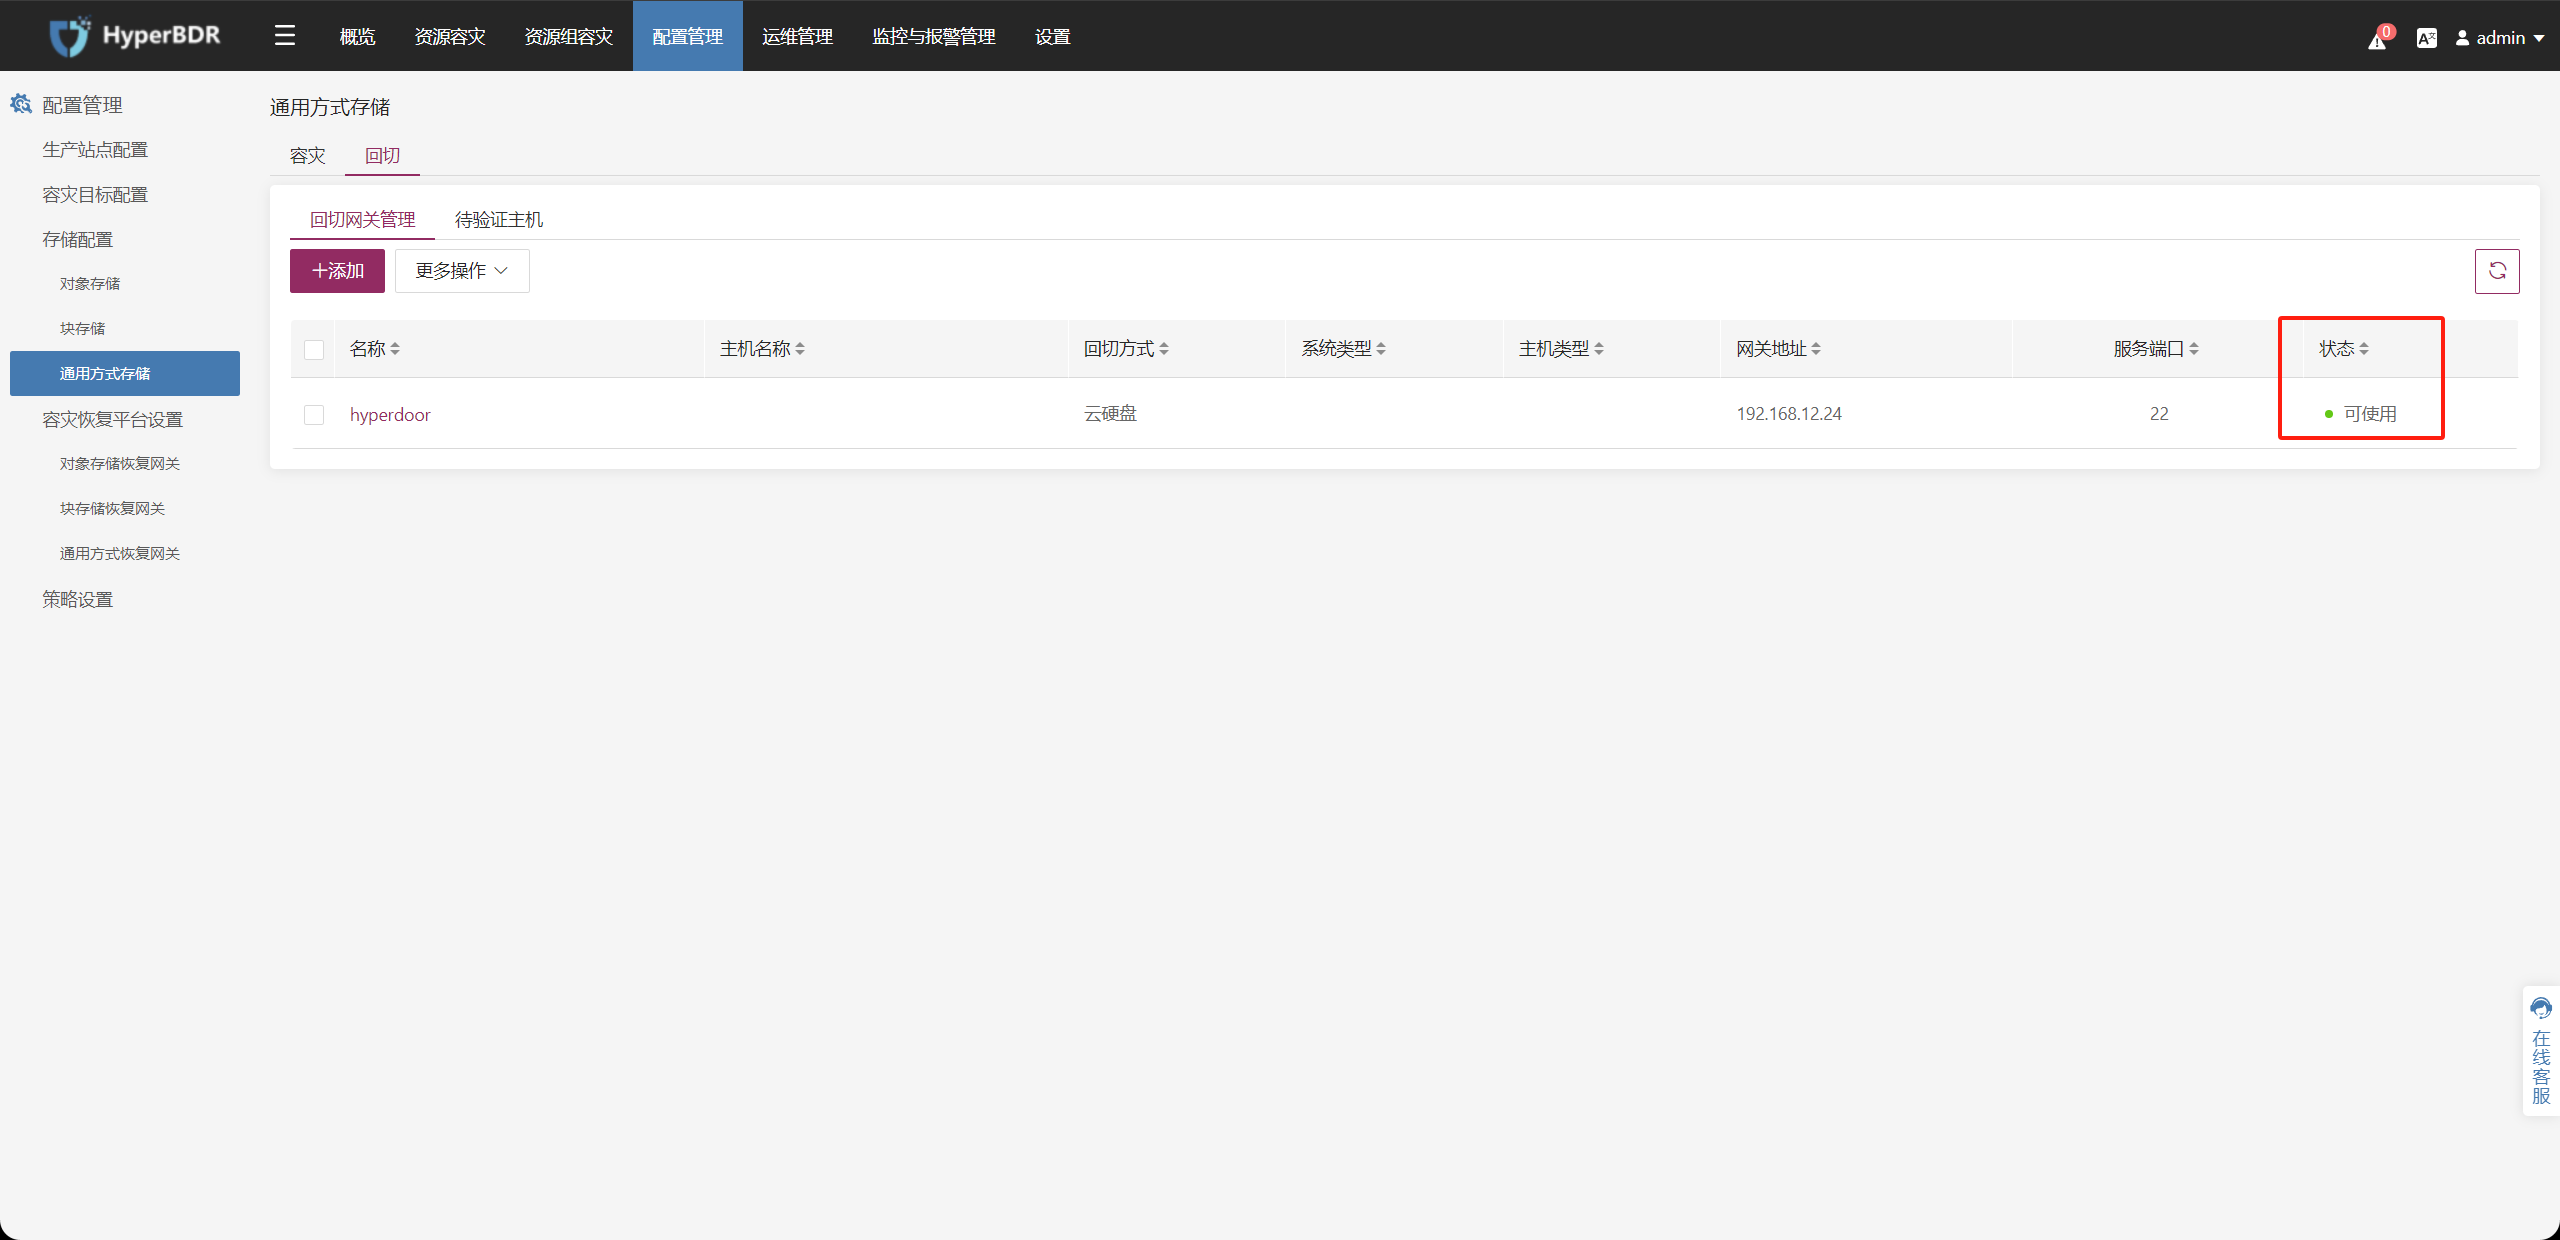
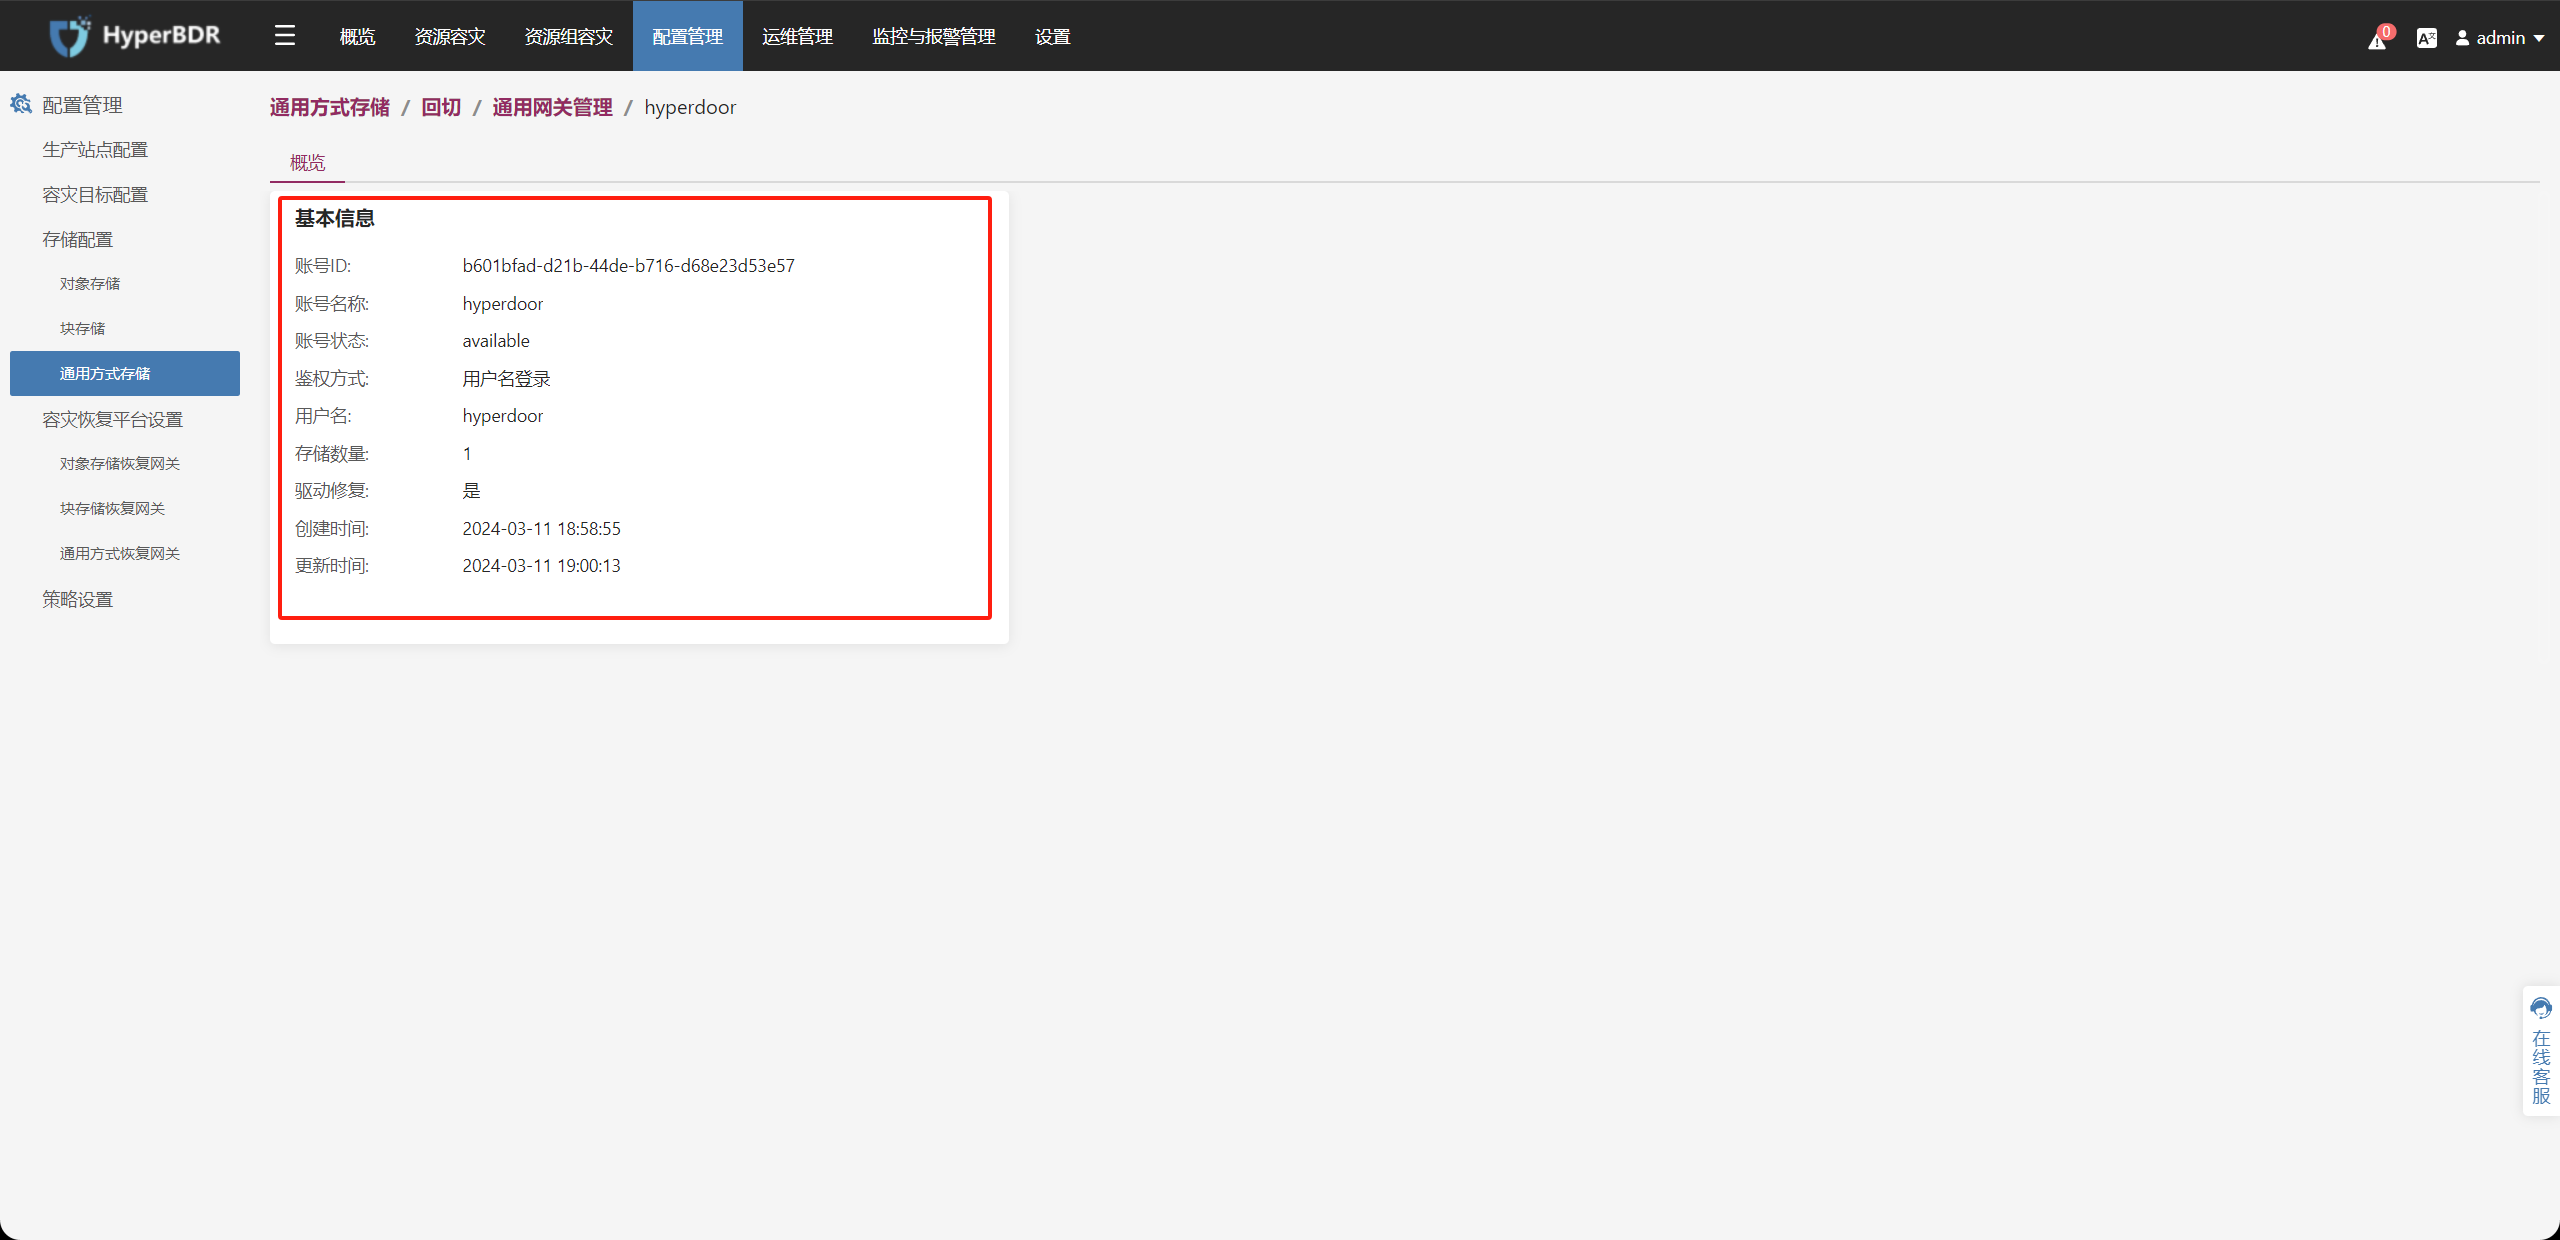
在顶部导航栏上,选择[配置管理],在左侧菜单中选择[通用方式存储] > [回切],在回切网关管理中单击要确认的[通用存储回切网关]。
确认此通用存储回切网关的状态为[可用]即可。
申请HyperBDR容灾回切授权
提示
默认已完成HyperBDR环境的部署。
登录HyperBDR控制台
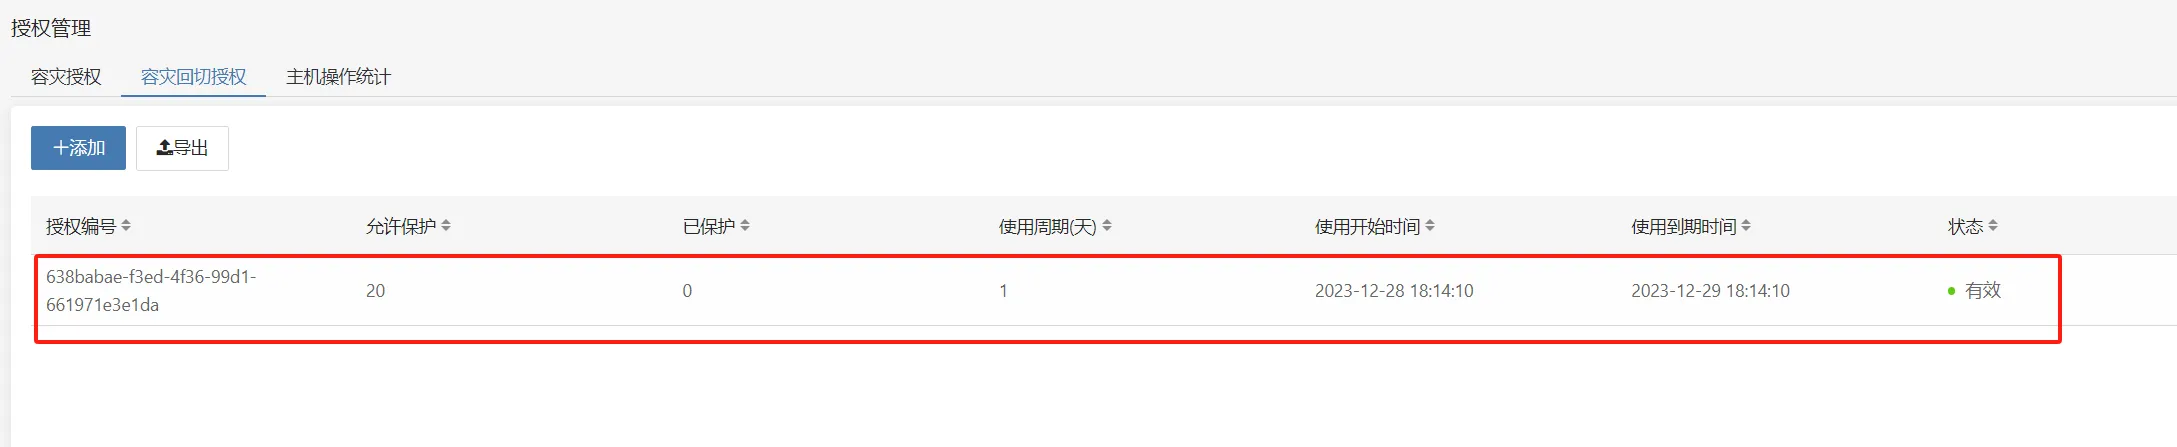
激活容灾回切Licnese
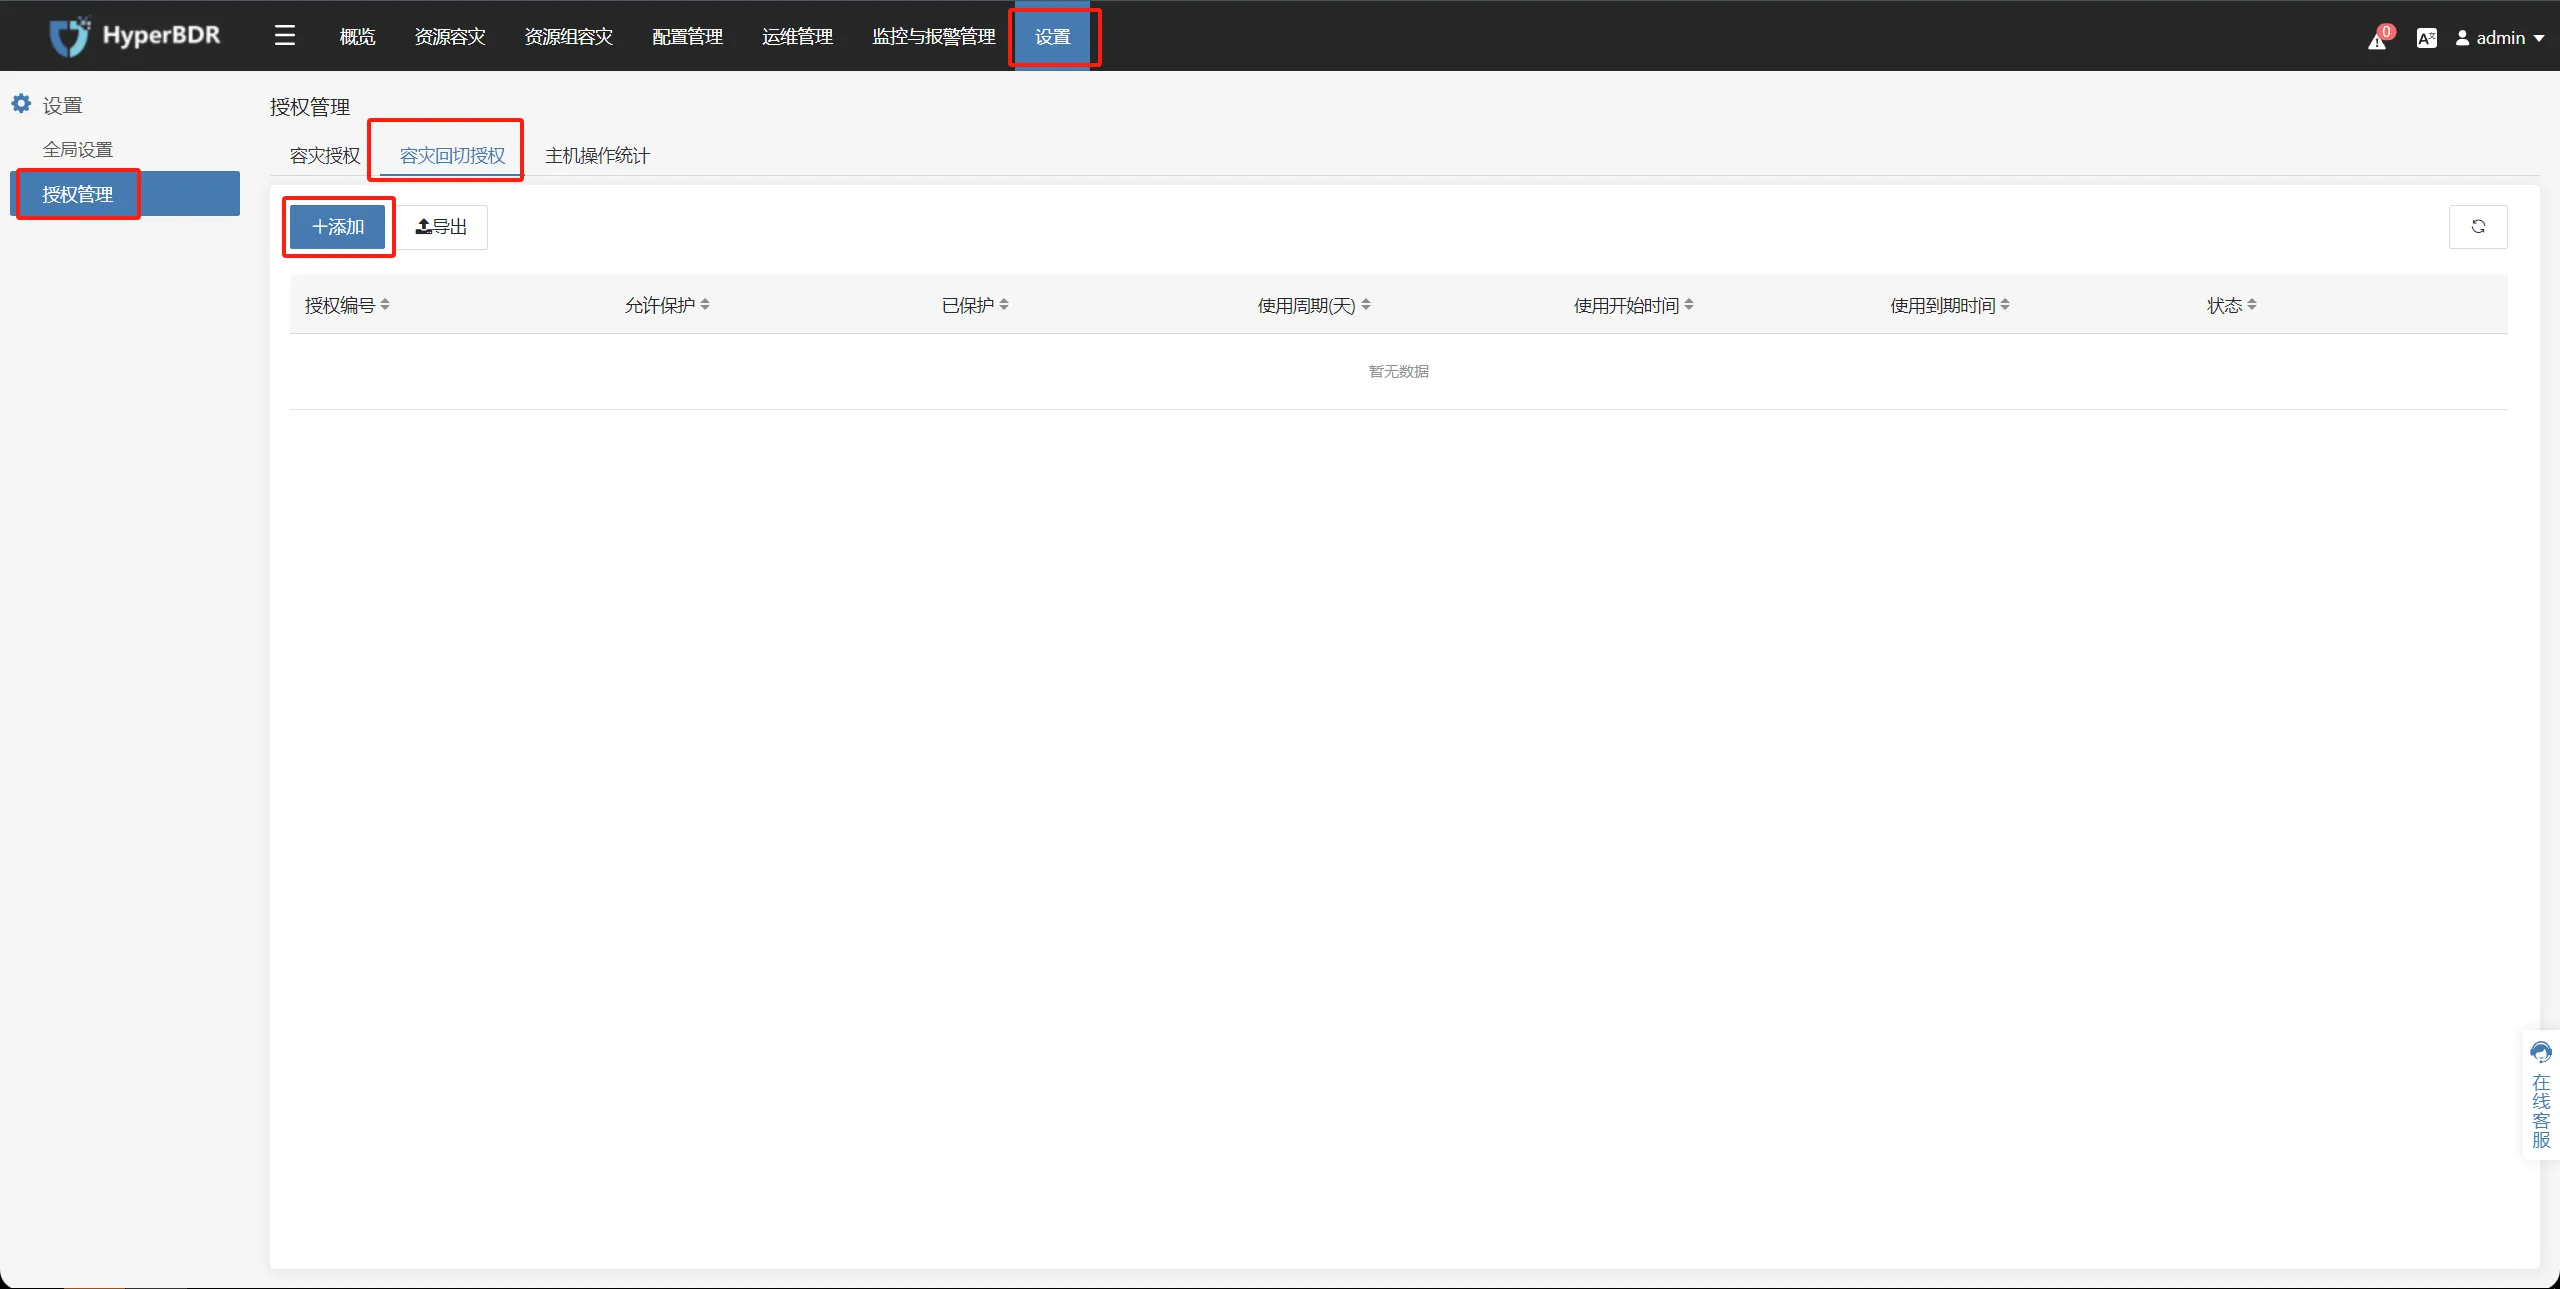
选择[设置] > [授权管理] >[容灾回切授权] ,点击 [添加]。
获取License激活码(容灾回切)
提示
有两种方法来获取License激活码
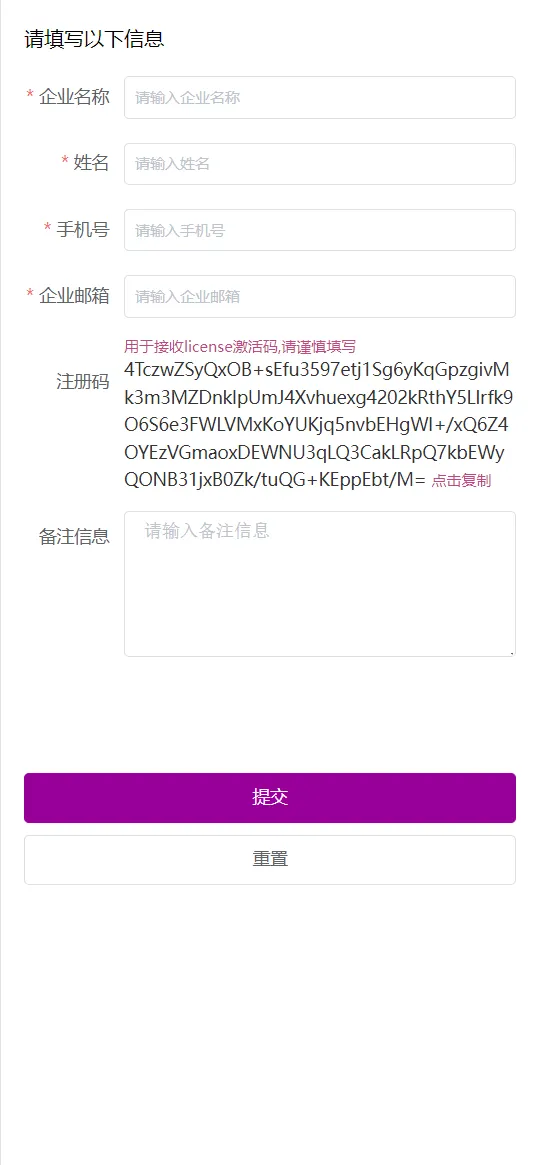
使用二维码激活License
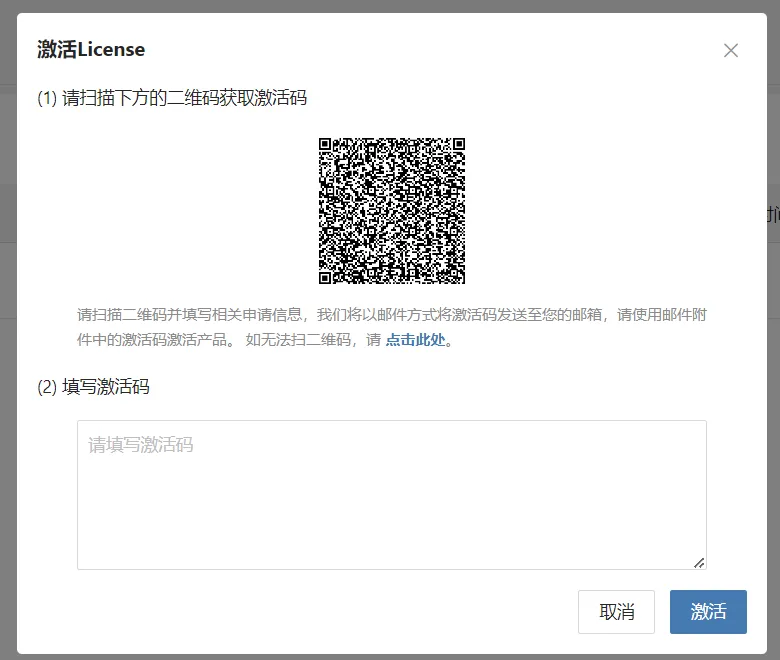
扫描二维码并填写申请表。客服将在审查申请后通过电子邮件向用户发送激活码(附件)。
提示
请确保申请表上提供的电子邮件地址正确无误,否则将不会收到激活码。
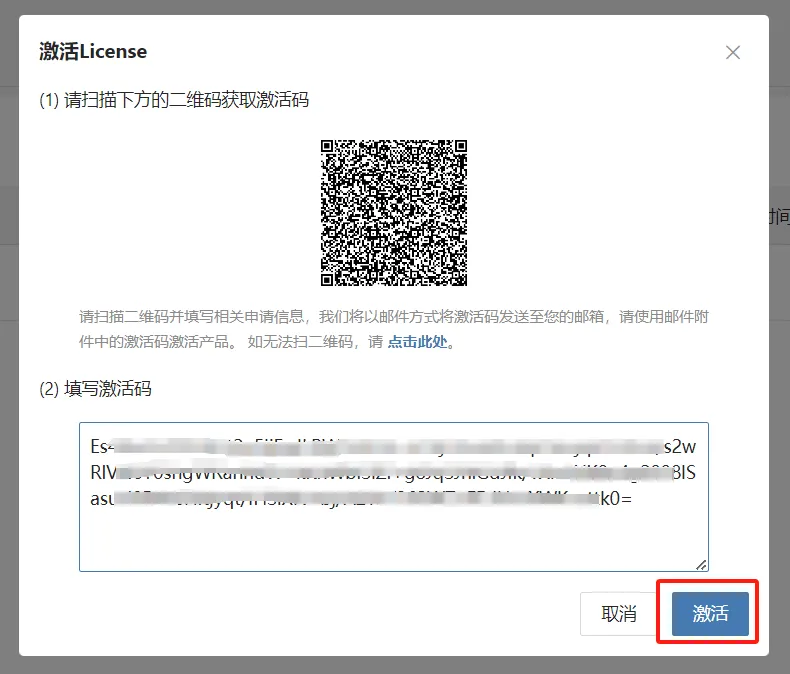
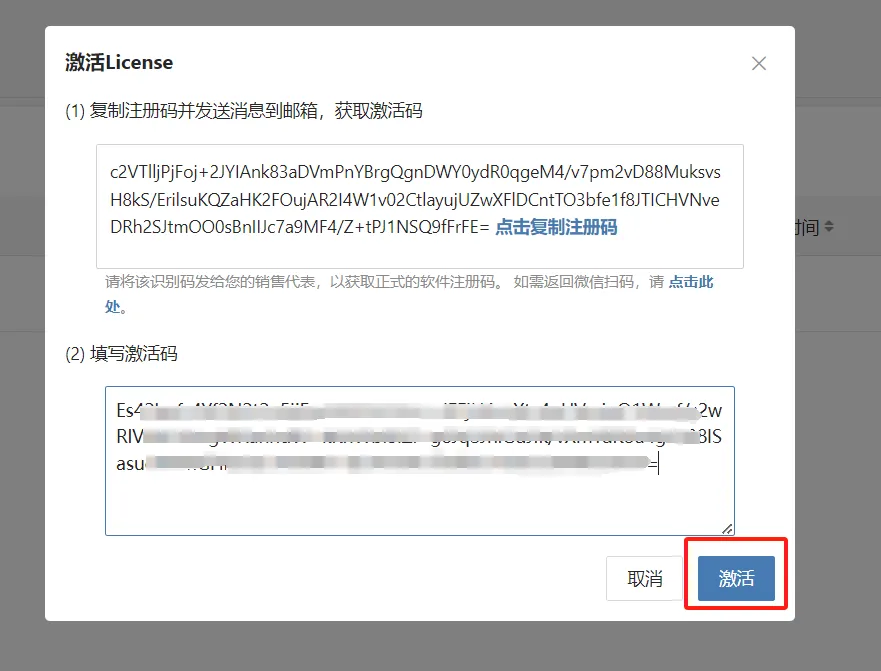
将收到的激活码填写后点击 [激活] 即可。
使用注册码激活License
[点击此处] 获取注册码,并复制注册码
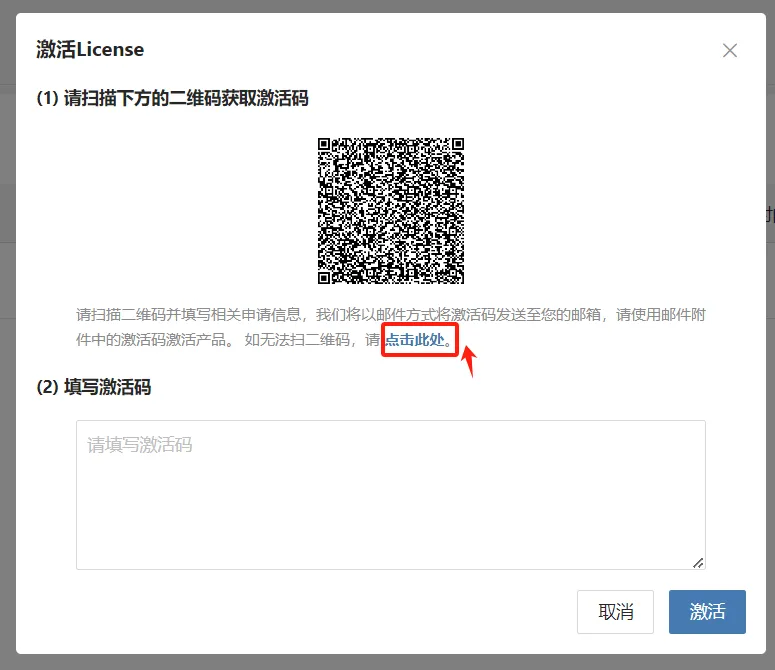
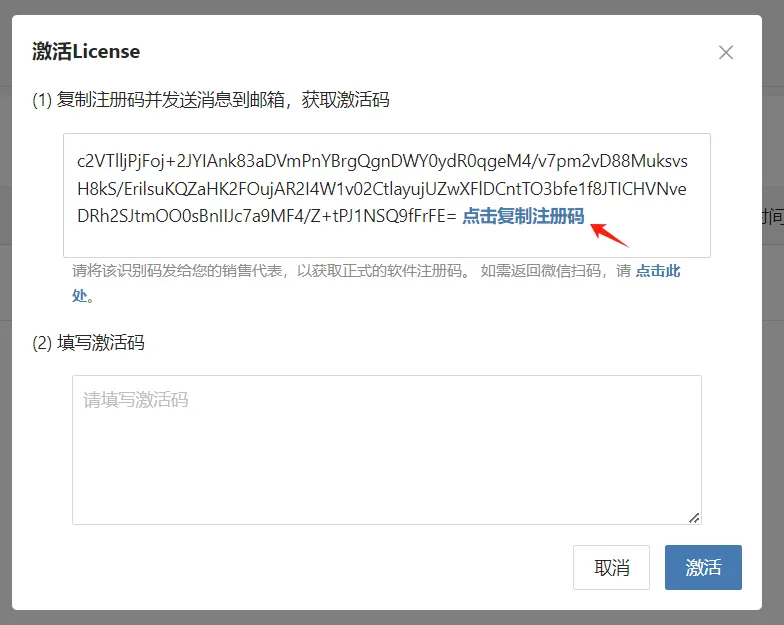
用户可以将注册码发送给销售代表或邮箱enquiry@oneprocloud.com ,将收到的激活码填写后点击 [激活] 即可。
下载通用存储回切网关所使用的HyperDoor镜像
提示
Choose the available image file according to the production environment on the source. You will need to use the hyperdoor image to create a virtual machine/physical machine in the source production environment. 根据源生产环境选择可用的镜像文件。您将需要使用HyperDoor镜像在源生产环境中创建虚拟机/物理机。
ISO格式镜像下载
镜像下载地址:https://downloads.oneprocloud.com/Livecd-HyperDoor.iso
QCOW2格式镜像下载
镜像下载地址:https://downloads.oneprocloud.com/Livecd-HyperDoor.qcow2
Download VMDK Format Image
镜像下载地址:https://downloads.oneprocloud.com/Livecd-HyperDoor.vmdk
添加对象存储(容灾回切)
提示
默认已完成HyperBDR环境的部署。
以下操作使用华为云作为示例,在HyperBDR控制台中配置并添加华为云对象存储桶。请根据您实际场景中的容灾目标云进行配置。
配置步骤
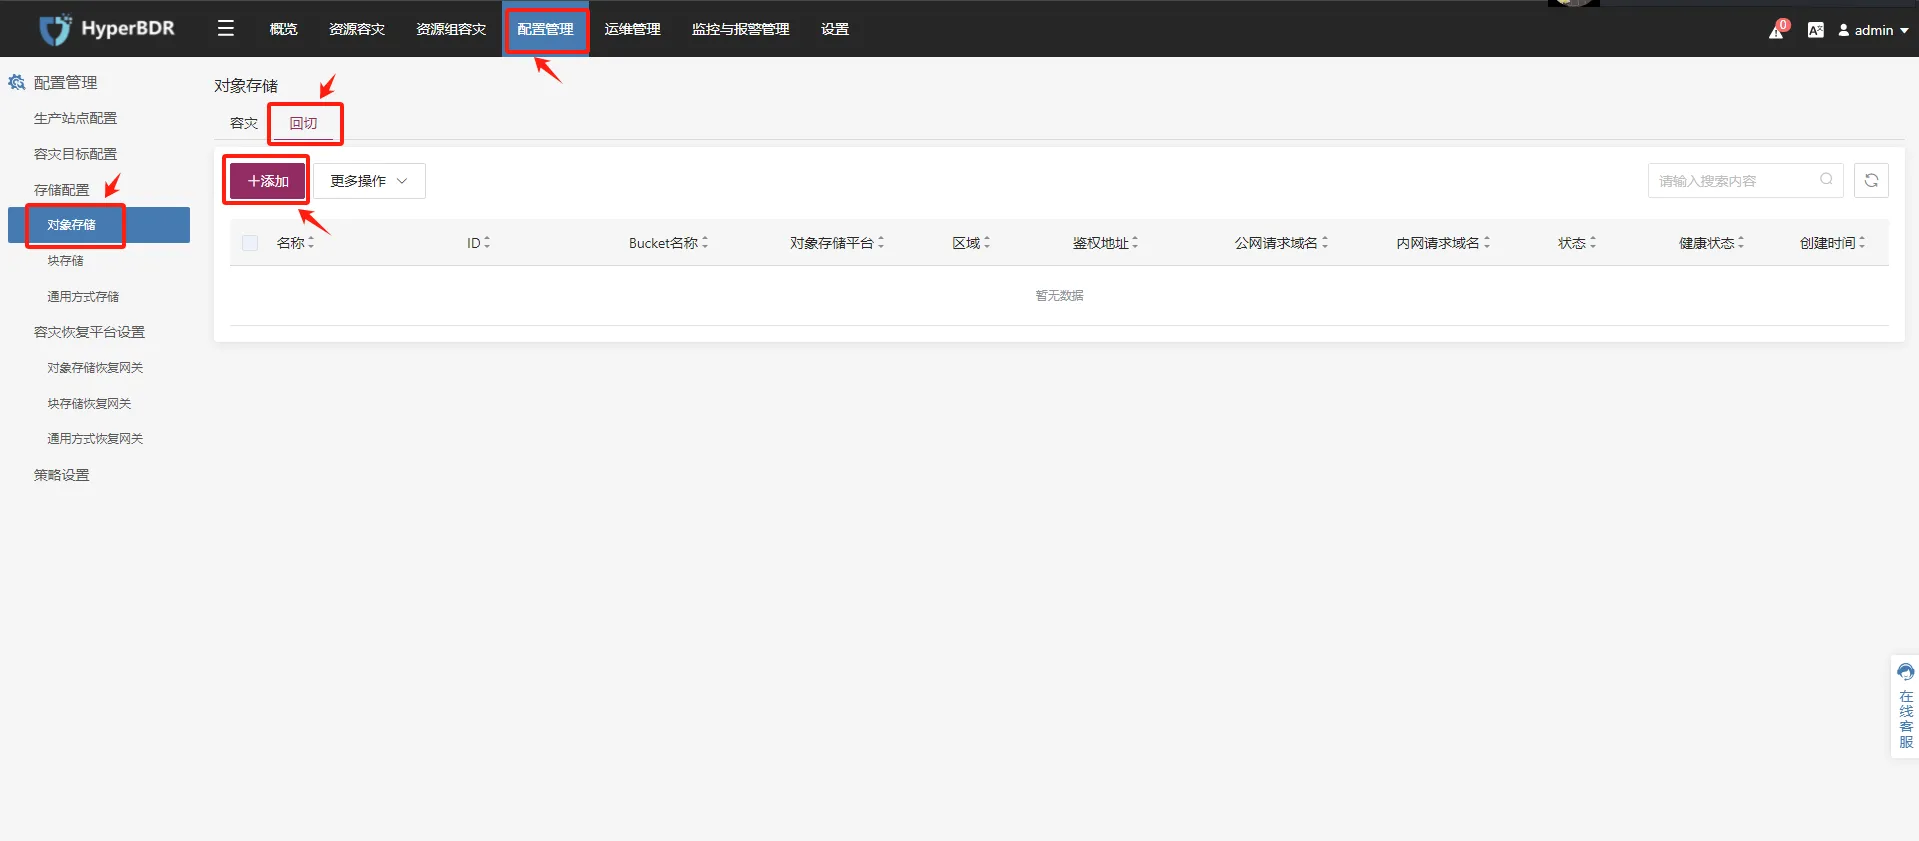
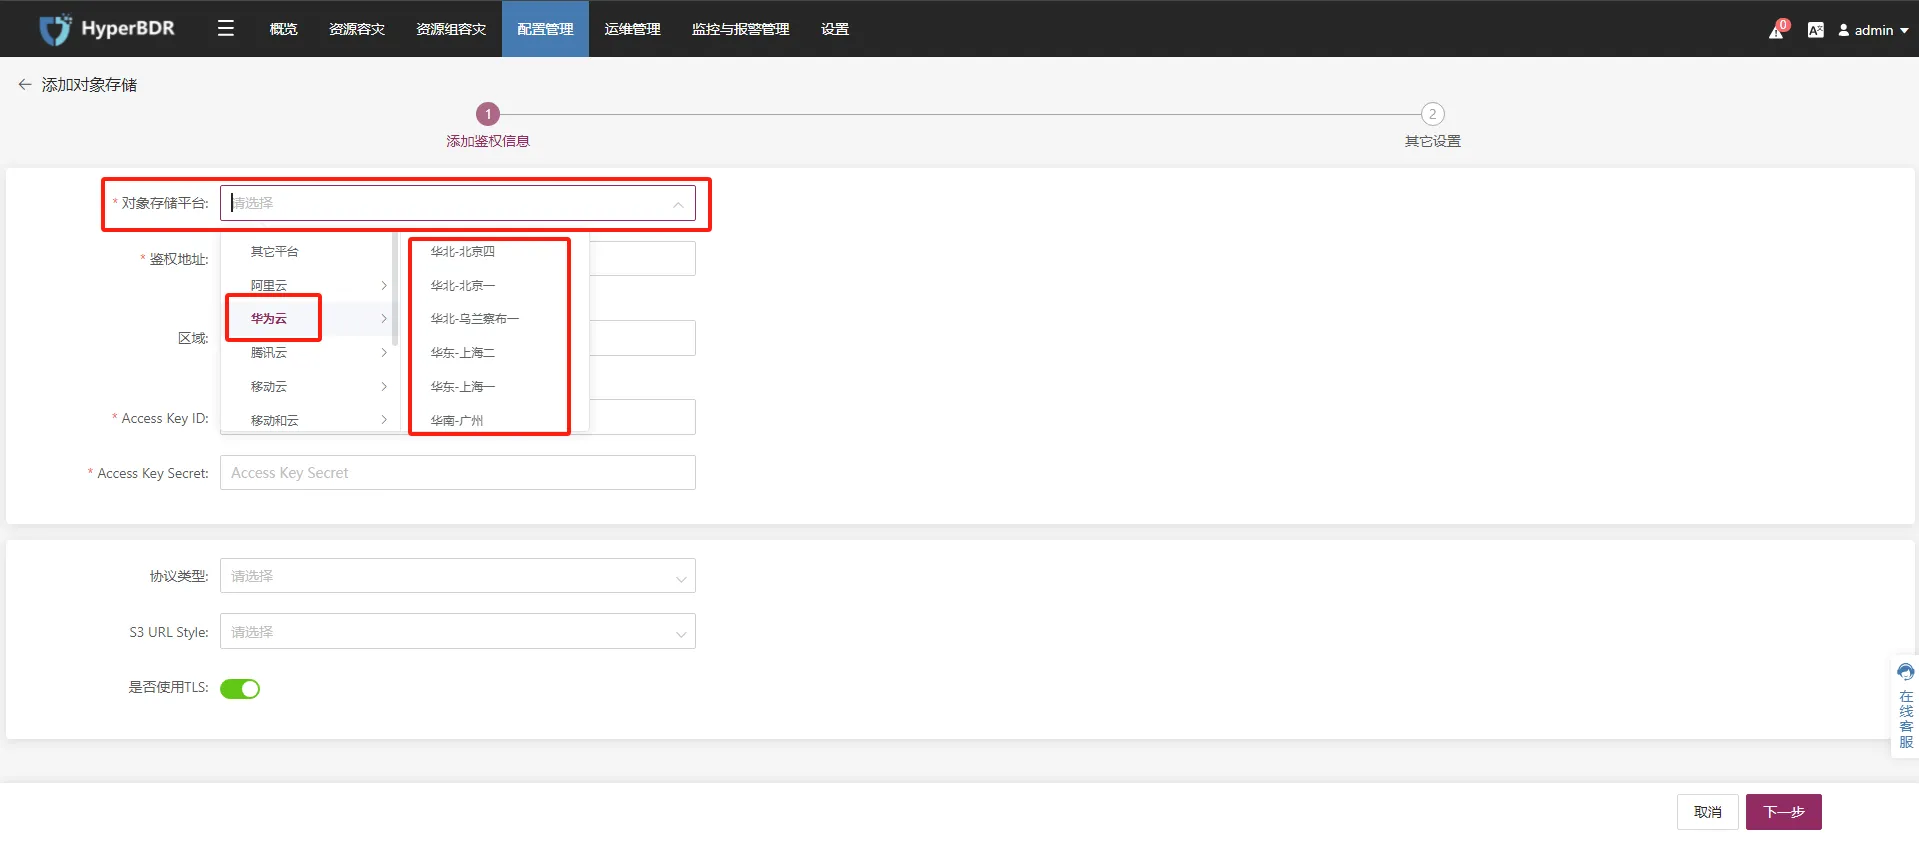
- Step 1. 上侧菜单栏点击 [配置管理],左侧选择 [存储配置] 中的 [对象存储],选择 [回切] 标签页,点击 [+添加] 。
- Step 2. 在 [对象存储平台],选择您所使用的华为云对象存储区域
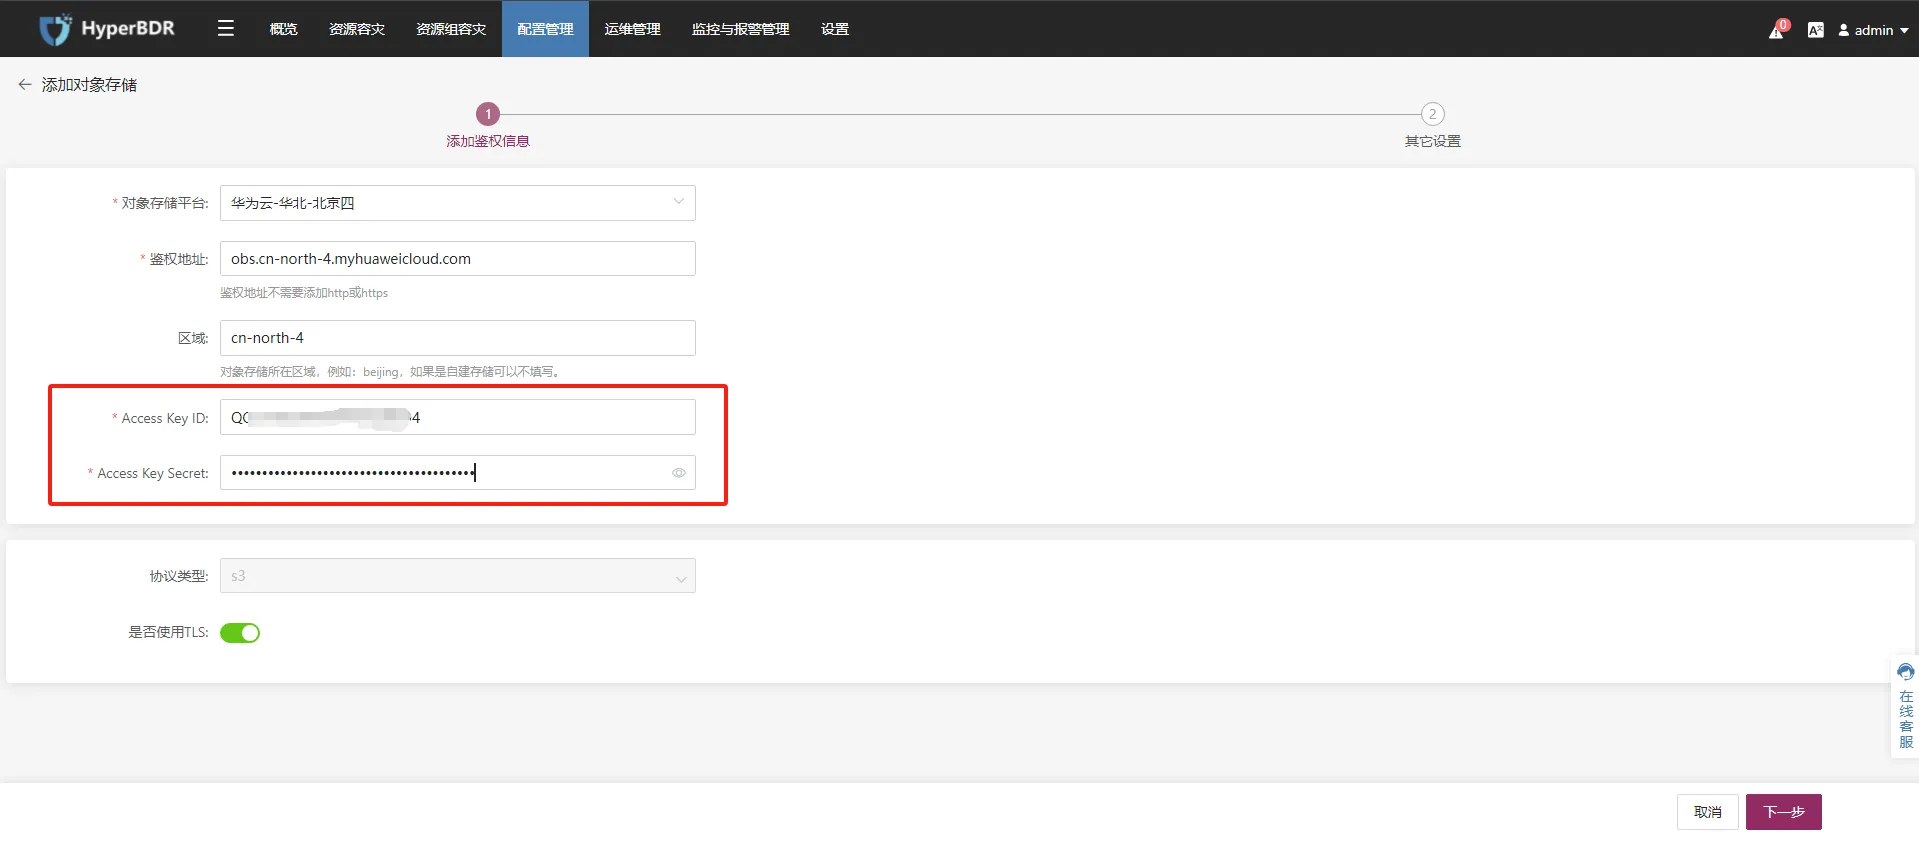
- Step 3. 填写用于鉴权认证对象存储的AK/SK,确认后点击 下一步
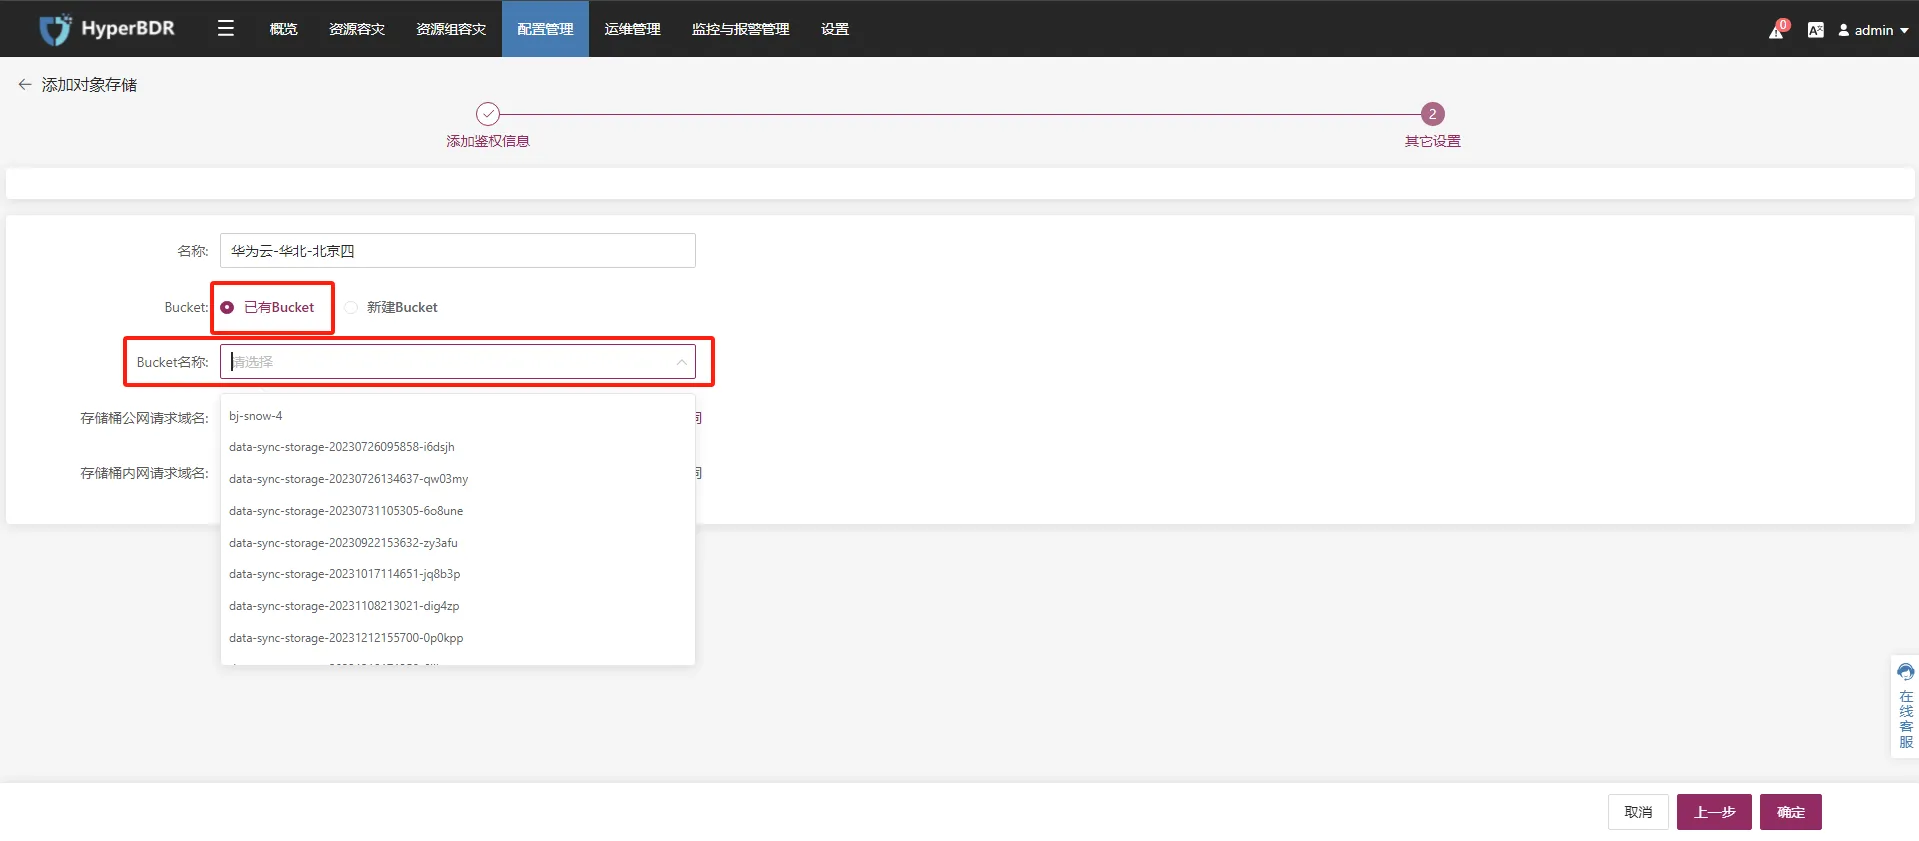
- Step 4. 设置对象存储桶的名称后点击 [确定]。
提示
您可以使用区域内已经存在的对象存储桶,或者新建对象存储桶并自定义名称。

- Step 5. 对象存储(容灾回切)添加完成