WebHook
WebHook
"WebHook" is used for real-time notification and data push of system events. When a specified event occurs, the system sends an HTTP request to the pre-configured URL, pushing event information to third-party services or custom applications, enabling integration and automated notifications between the system and external platforms.
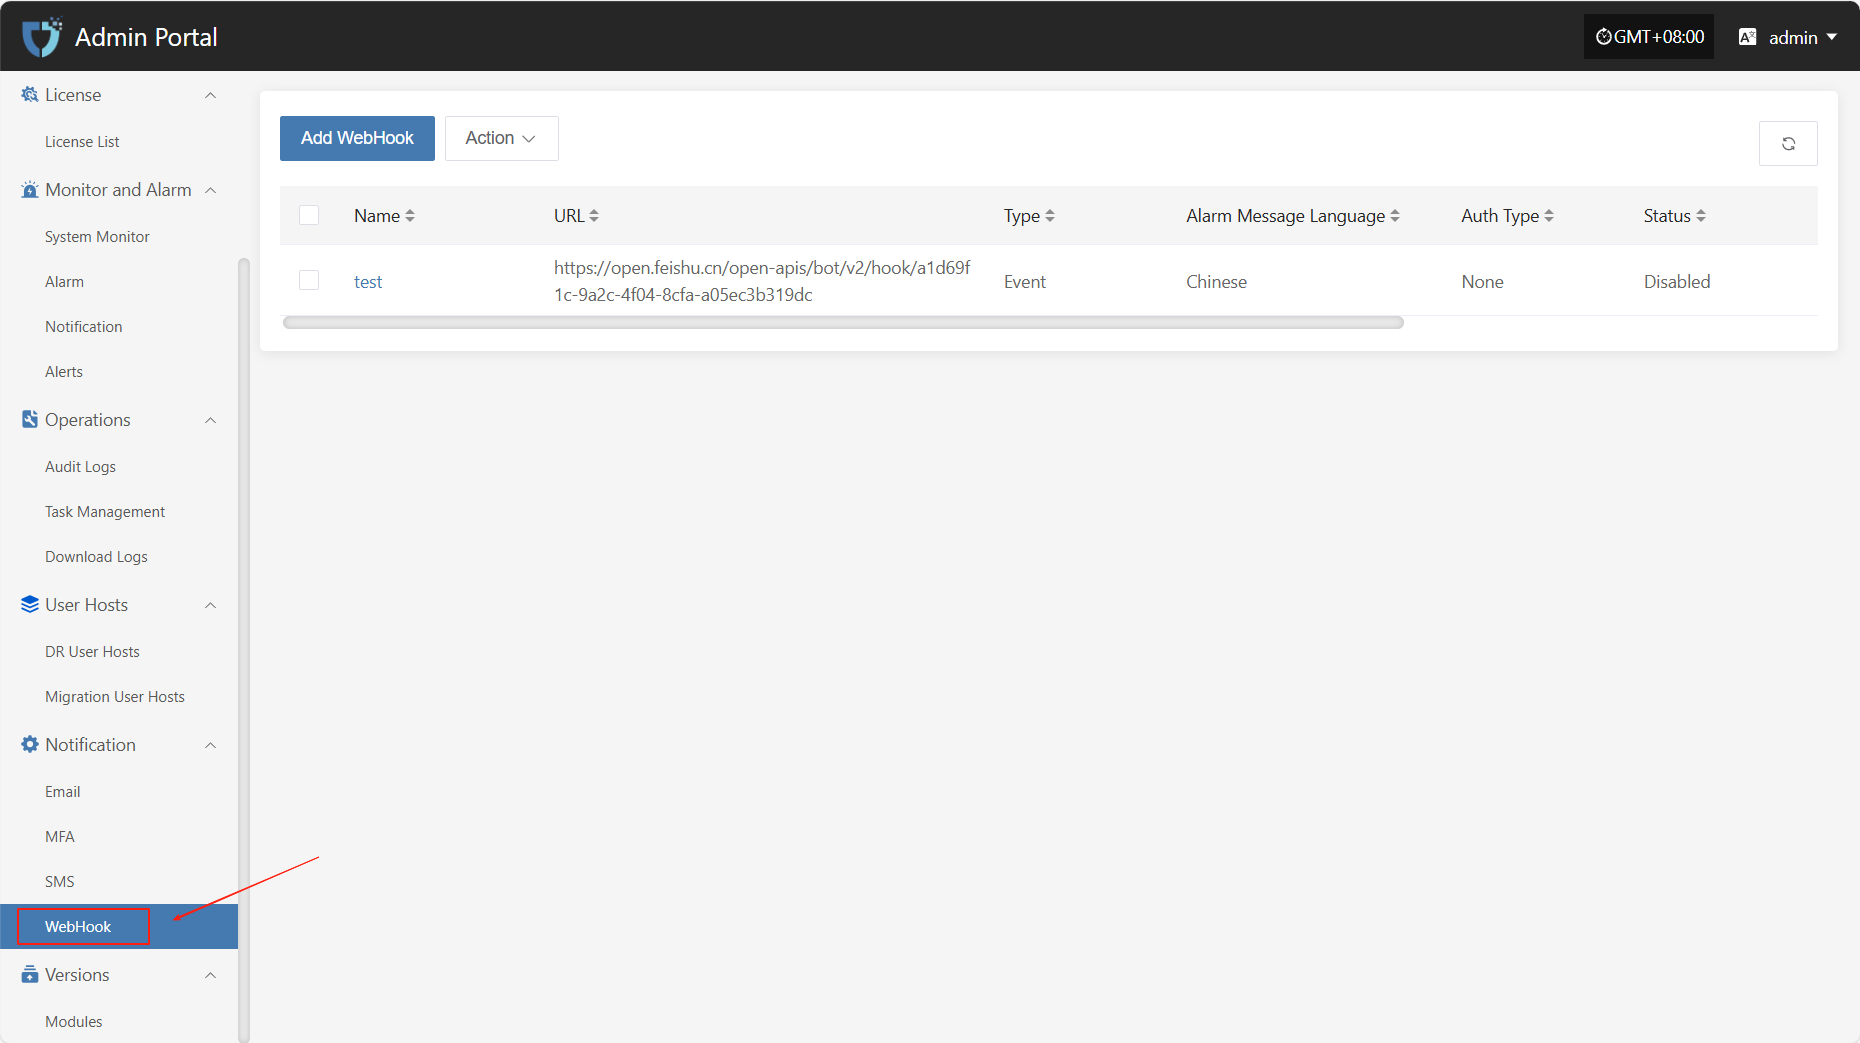
Click "Notification" in the left navigation bar, then select "WebHook" to enter the WebHook notification settings page.
Add WebHook
Click the "Add WebHook" button in the upper left corner to start setting up WebHook authentication information.
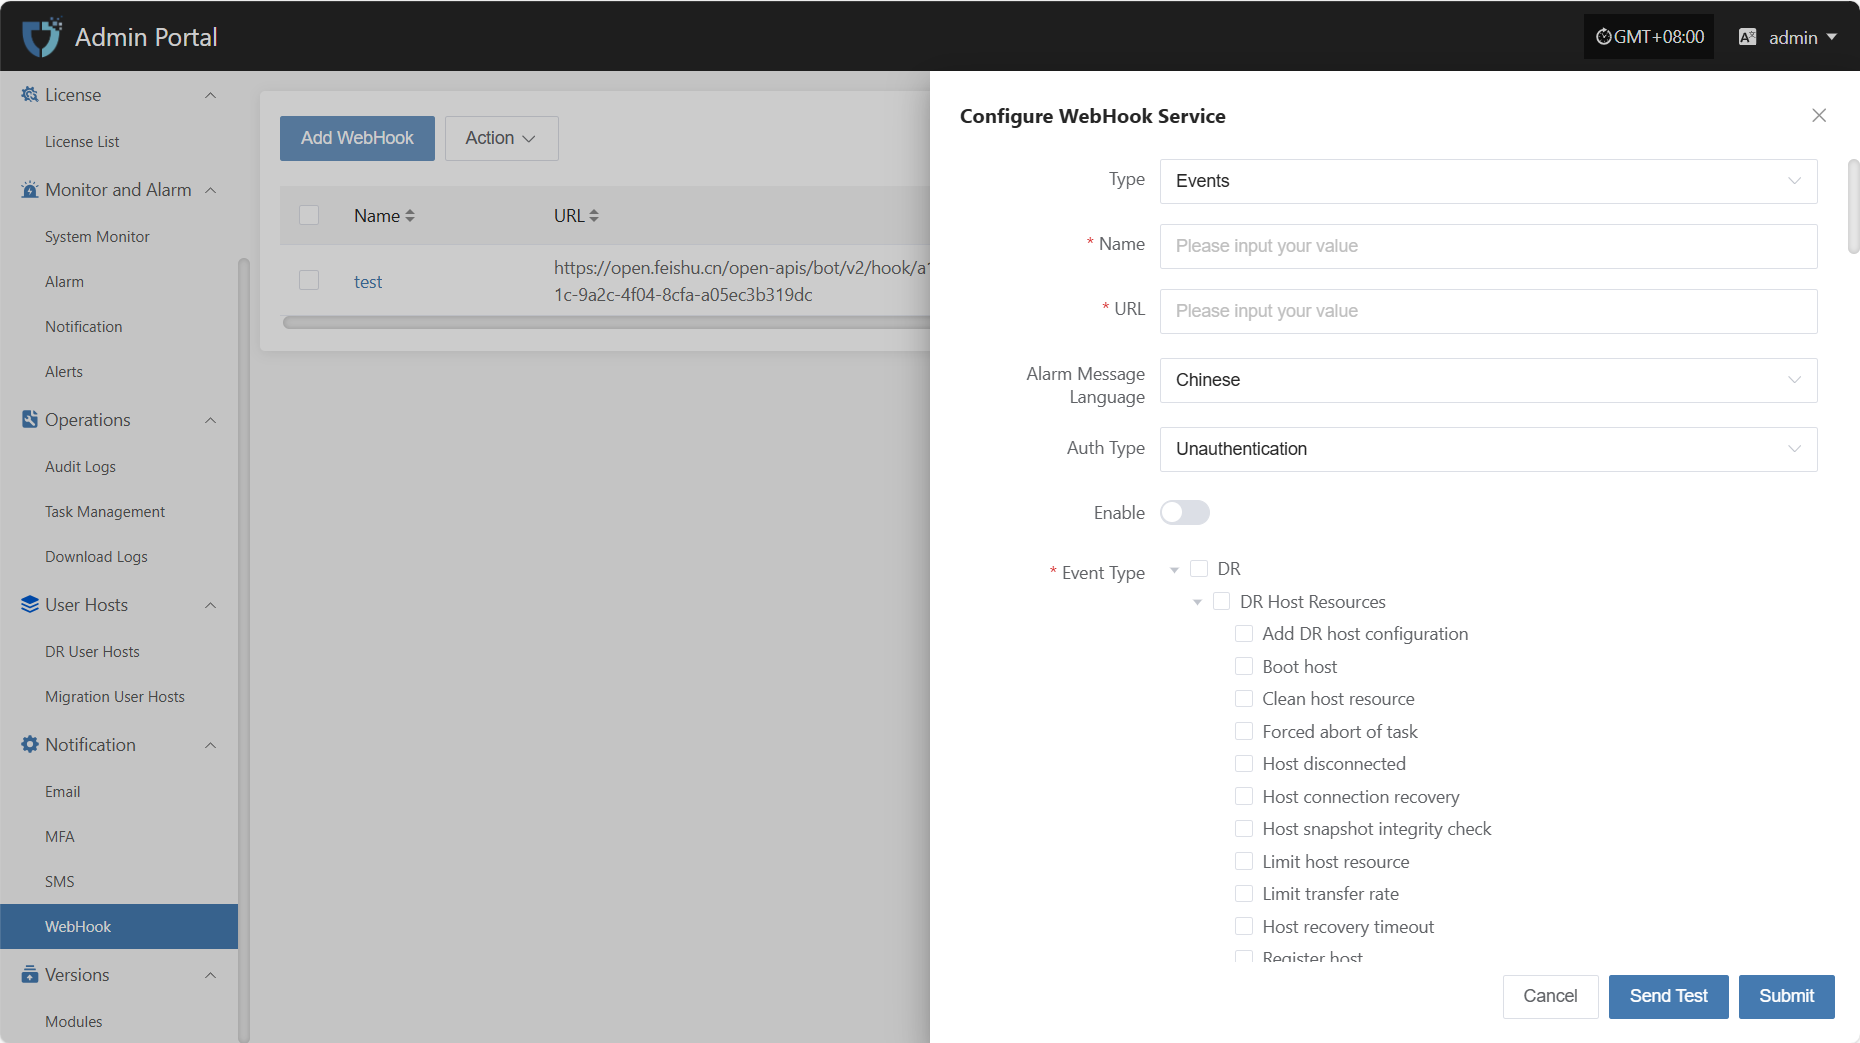
- Authentication Information Description
| Setting | Example Value | Description |
|---|---|---|
| Type | Events / Alarms | The category of the Webhook, distinguishing different push purposes such as system events or alarm notifications. |
| Name | test | The name used to identify this Webhook configuration for easy management and distinction. |
| URL | https://example.com/webhook | The target address to receive event pushes. The system will send HTTP requests to this URL. |
| Alarm Message Language | Chinese | The language of the push message. You can select the required language version as needed. |
| Auth Type | Unauthentication | Select the authentication method for the Webhook request. |
| Enable | Enable / Disable | Whether to enable this configuration. When enabled, the system will push notifications according to the set event types. |
| Event Type | Host recovery timeout | The specific event types that trigger WebHook pushes, such as host lost connection, host recovery timeout, etc. Multiple selections are supported. |
After filling in the authentication information, you can click the "Send Test" button below to verify if the WebHook service is working properly. After a successful test, click the "Submit" button at the bottom right of the page to complete the WebHook configuration.
Note: After clicking "Cancel", all unsaved WebHook authentication configuration information will be cleared. Please make sure to save before leaving the page.
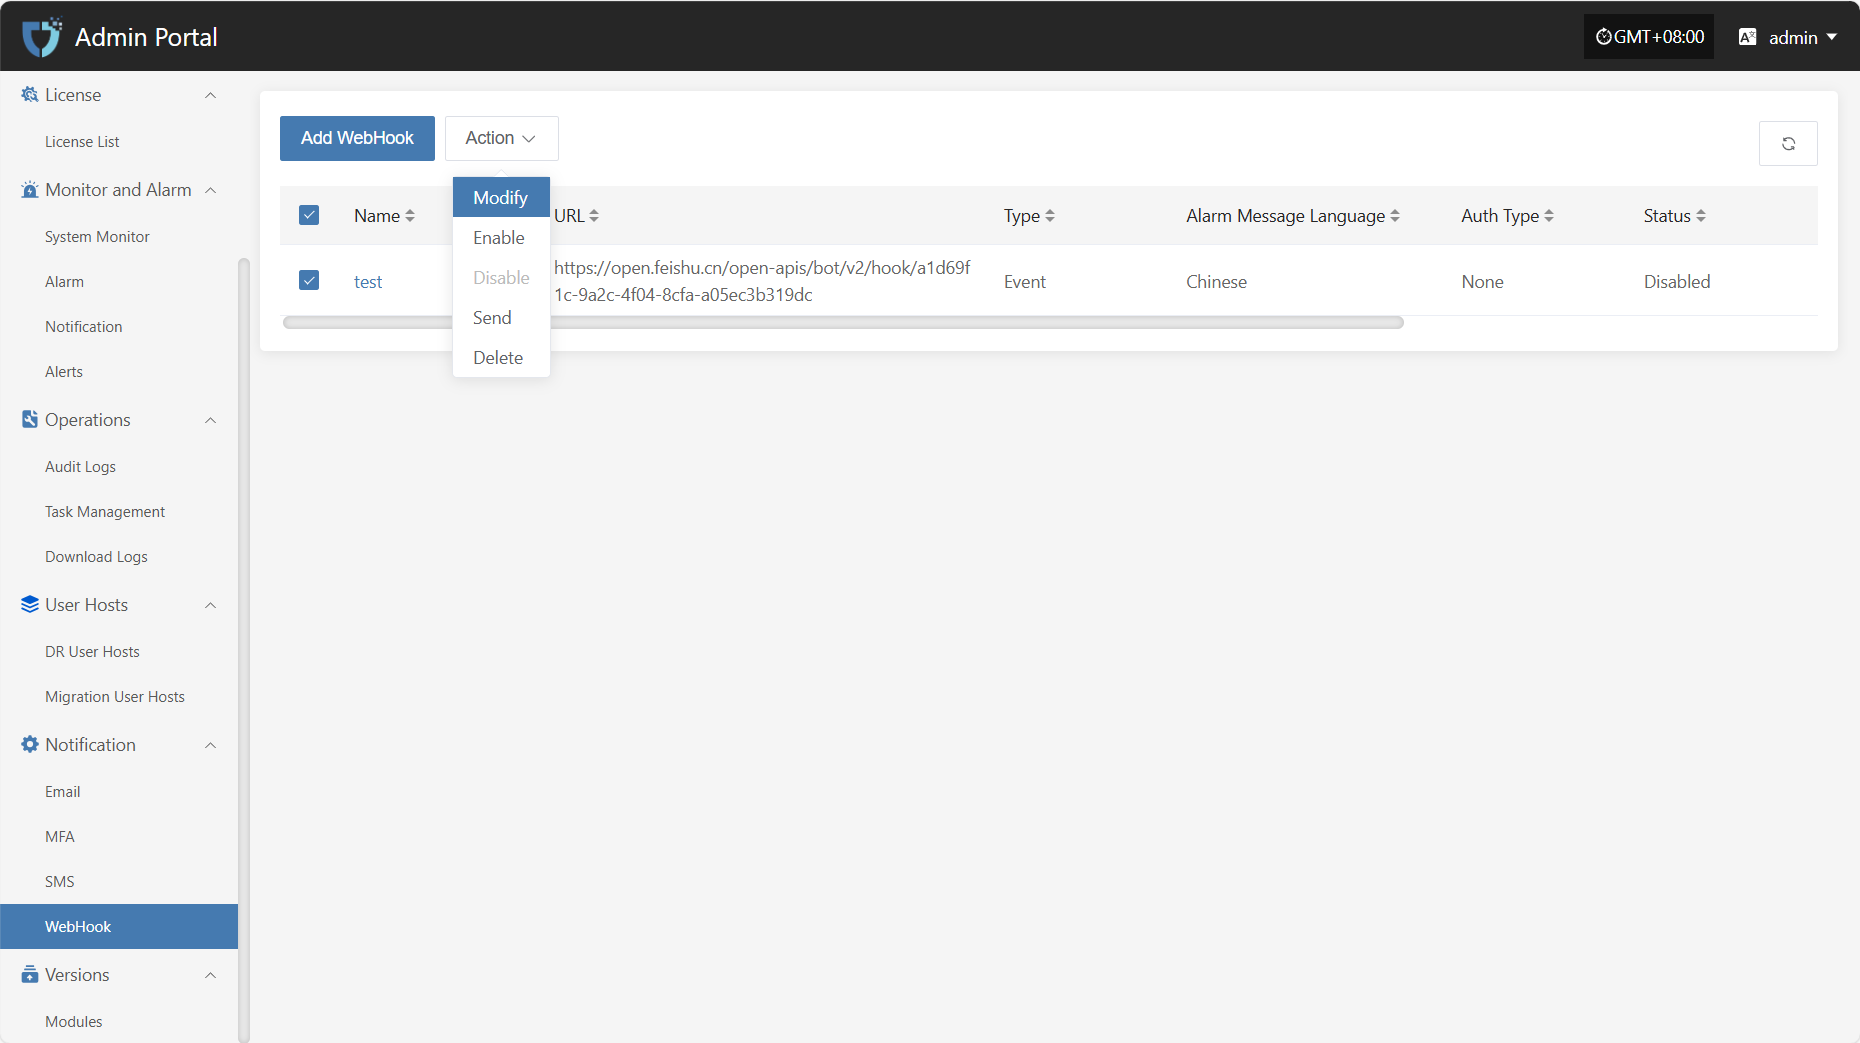
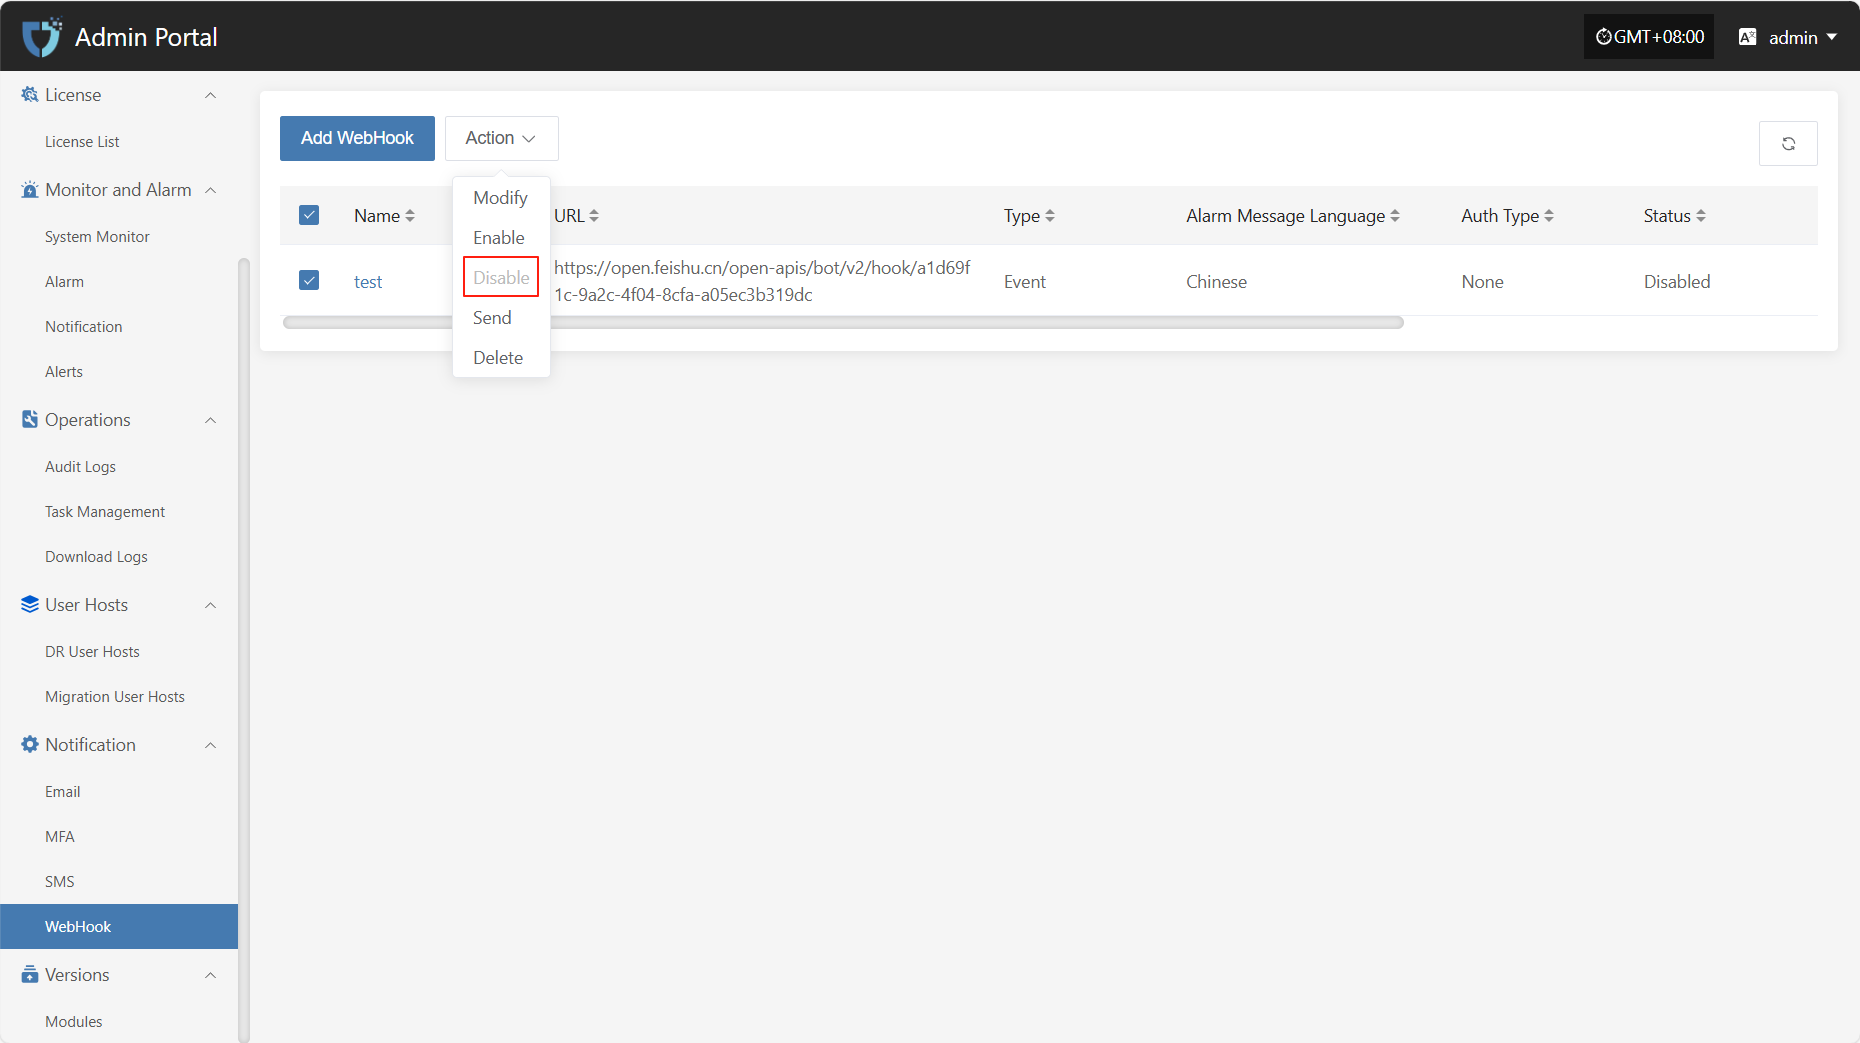
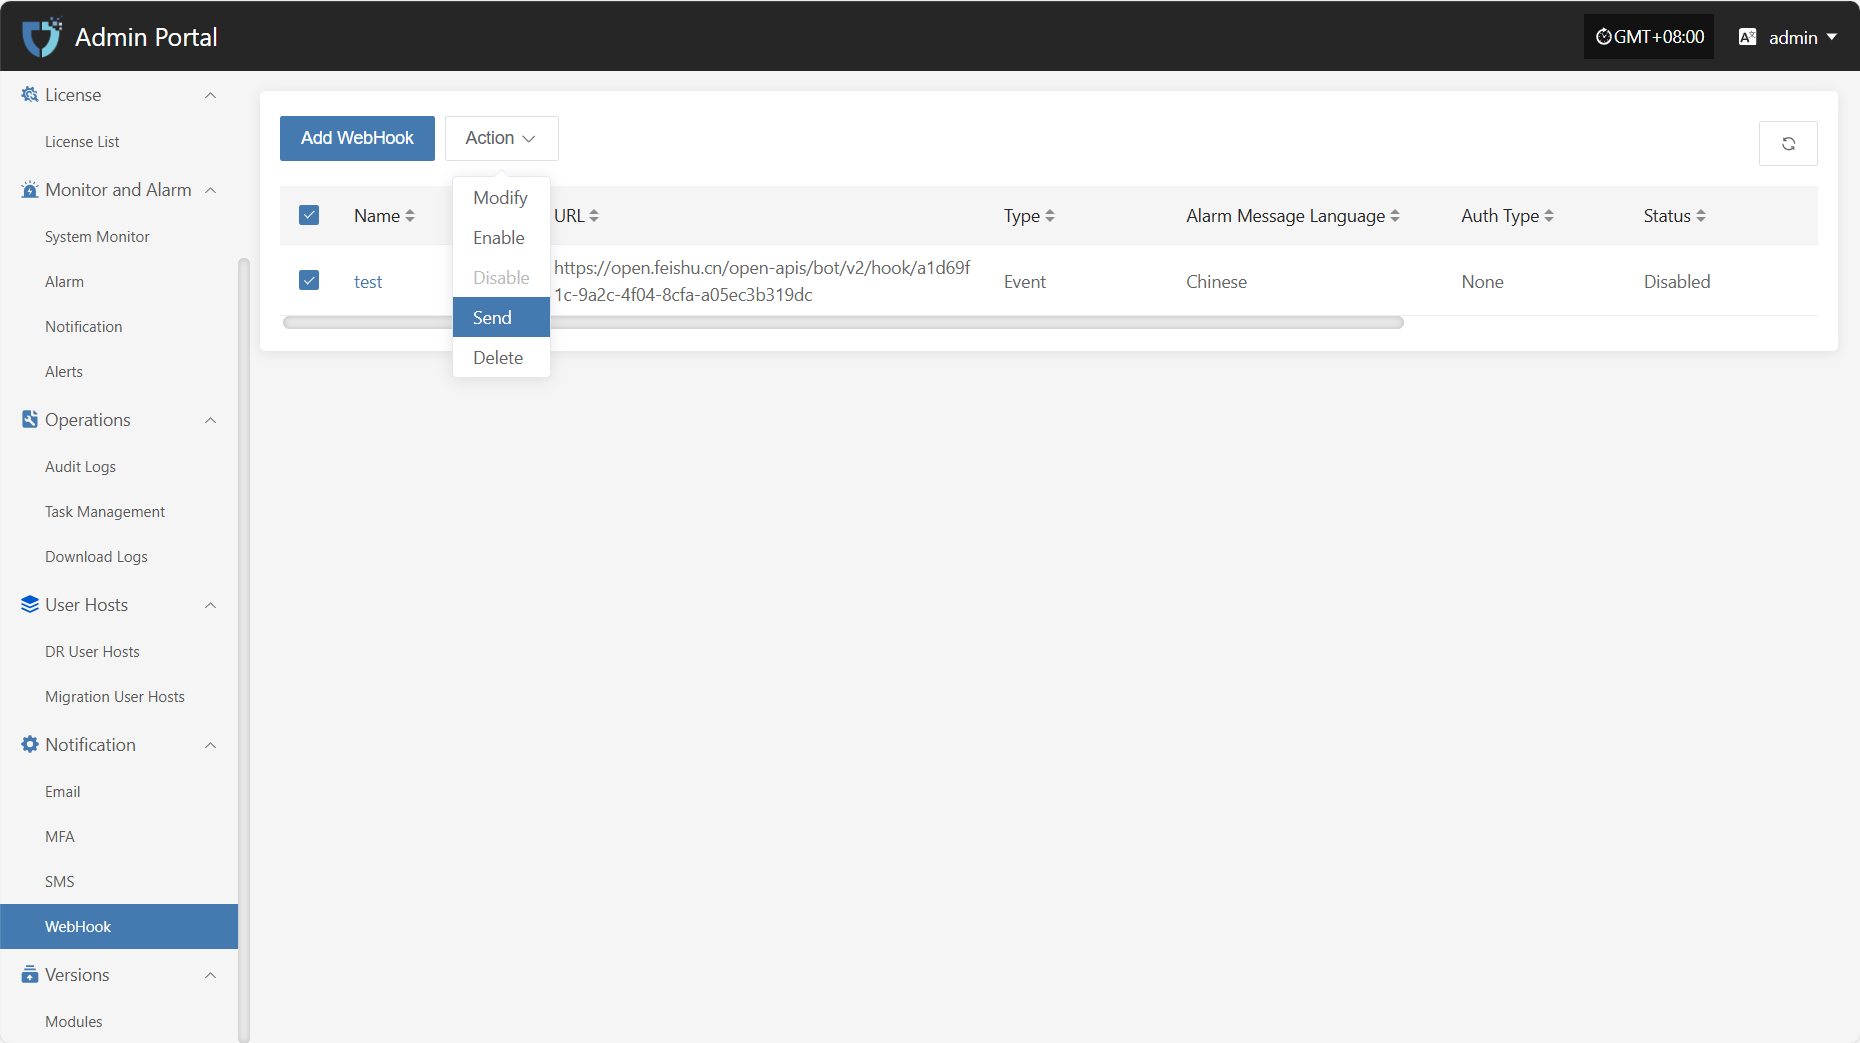
Action
Modify
Click "Modify" to edit the authentication information.
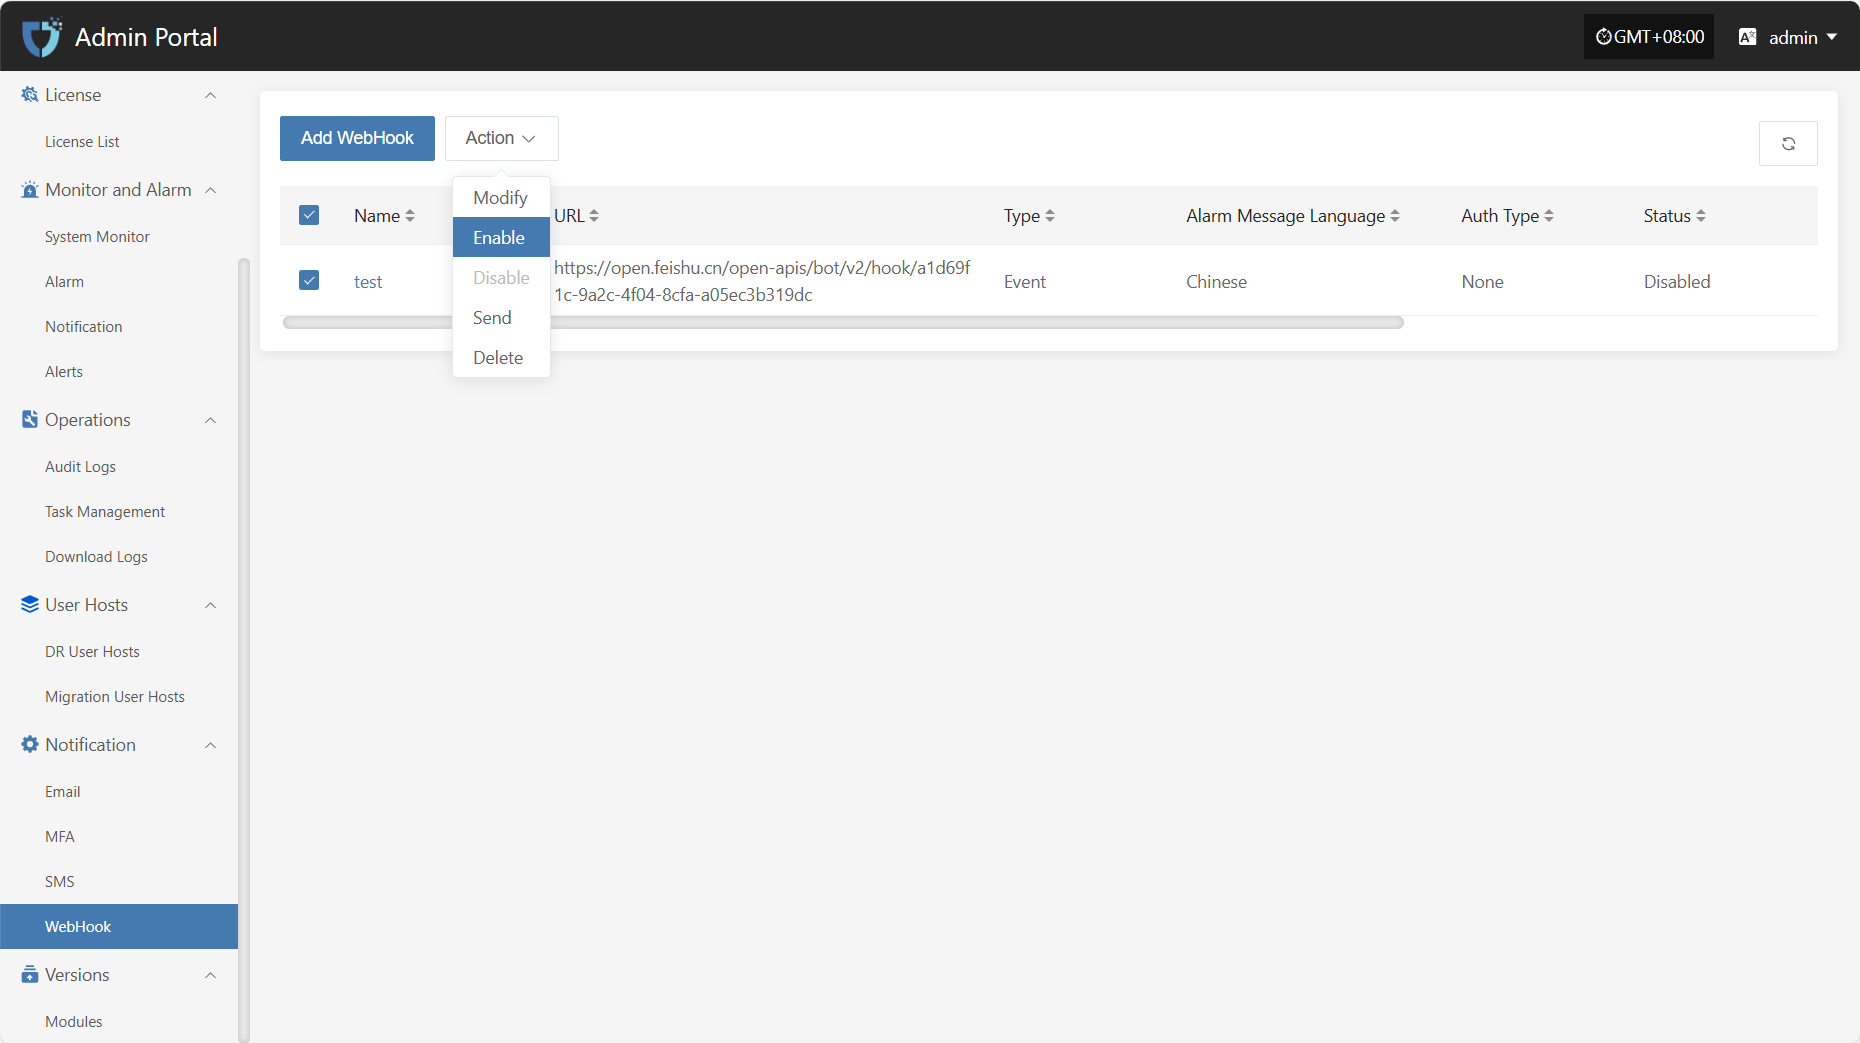
Enable
Click the "Enable" button to activate a disabled Webhook.
Disable
Click the "Disable" button to disable an enabled Webhook.
Send
Click the "Send" button and the system will send a test message to the configured target address to verify if the Webhook settings are correct.
Delete
Click the "Delete" button to remove the selected configuration. This action cannot be undone, please confirm carefully.
